What is Arch Linux?

Arch Linux is an independent GNU/Linux distribution that embraces the KISS philosophy - Keep It Simple, Stupid. It is a rolling-release Linux distro (short for distribution), meaning software receive updates almost as soon as developers release them.
The kernel on Arch Linux is the latest among Linux distros. The biggest advantages of using Arch include:
- access to a vast source of user-contributed packages (AUR)
- access to the latest builds of most software
- fast update times, no need to wait for distro upgrades to complete fully
Let’s install Arch Linux on our computers!
Preparation of installation medium
-
Find a spare USB drive (capable of storing 8 or more GB data). Ensure that it doesn’t contain any valuable data.
-
Download the ISO file for Arch Linux from this URL.
-
Download and install the Balena Etcher tool, used to flash OS ArchInstall/images onto the USB drive.
-
Click on
Select image, choose the ISO file downloaded recently, then click onSelect drive. Choose the USB device you want to flash to. -
Select
Flash!. This formats your USB device, removing all existing data. 2 partitions are created in the USB drive, of which one contains the ISO file.
Balena Etcher makes this device bootable. This means you can boot directly from this device, making use of RAM to store temporary files in the live environment.
Congratulations! You’ve created a working Linux “disk” that can be used to install Linux on various computers!
Installation
-
Power off the computer once the ISO image has been flashed to the USB drive.
-
Plug the USB drive into a port provided on the side of the computer.
-
While booting, press either of the following keys:
Esc,F1,F2,F8,F9,F10,F12, etc.The exact key varies across devices, so trial-and-error is needed to boot into the UEFI/BIOS menu.
-
In the interface, disable
Secure Boot. Finding this option takes some time, and varies across devices. -
Power off the device after disabling Secure Boot.
-
Boot the device back on, while pressing the same key used previously to access the BIOS/UEFI menu. Select the device from the boot devices dropdown menu. The entry usually contains something like “SanDisk”, the name of the manufacturer, etc.
-
After the selection, messages about services would appear on the screen. A “Welcome to Arch Linux!” message indicates that the device contains a valid image; after some time, a prompt saying
root@archisoshould appear.

- Connecting to Internet (Wi-fi):
Use the iwctl tool provided by the iNet Wireless Daemon (IWD) package:
iwctlThe prompt should now change to [iwd]#. To list out the devices, type:
device listTypically, it’s wlan0 (wireless LAN 0). Scan for networks managed by the interface wlan0 with:
station wlan0 scan # to initialize a scan for networks
station wlan0 get-networks # to display available networks
Connect to the network named NAME with:
station wlan0 connect NAME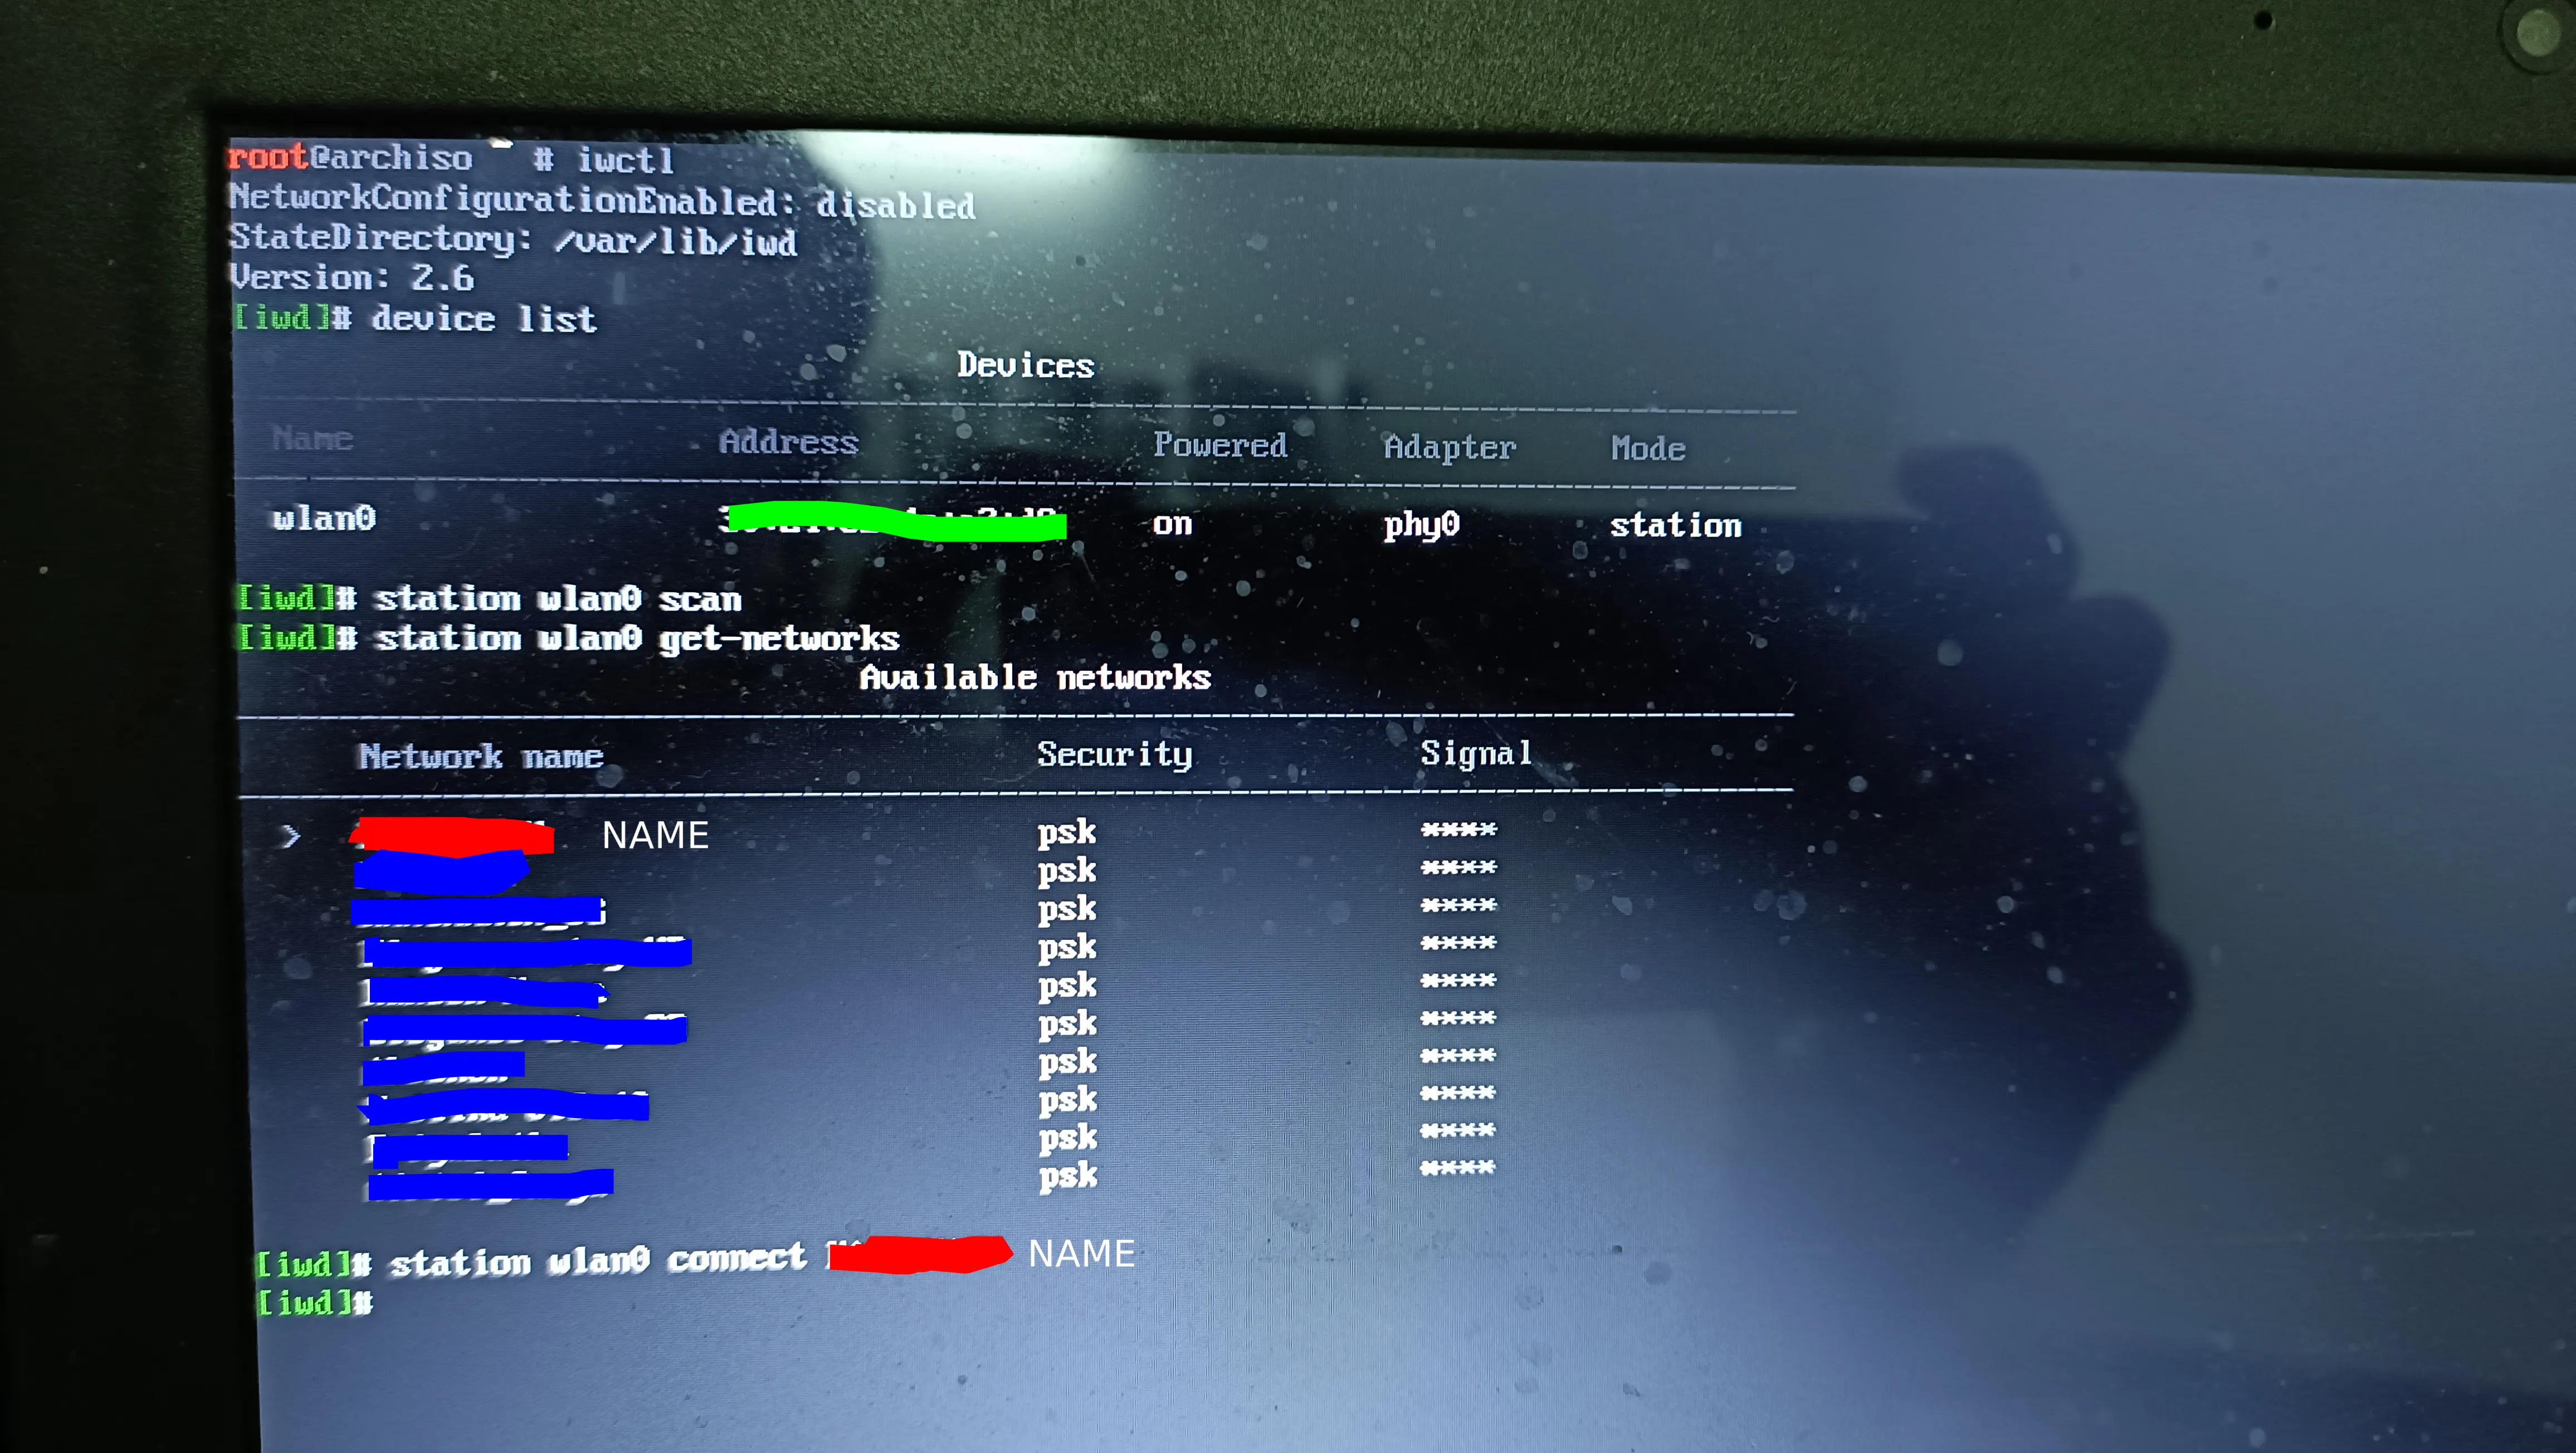
iwctl should ask for the network password. Once provided correctly, Internet connection is established.
Press Ctrl-d to exit IWD.
To test network connectivity, type:
ping google.comIf network requests are sent and received, network connection has been established successfully.
- To synchronise the system clock with an NTP server, type:
timedatectl set-ntp true- Partitioning
This device has only a 1 Tb (actually, 931.5 Gb) hard-drive disk (HDD). The bootloader, home and root partitions lie on the same disk.
Partitioning layouts will vary across devices, and based on the use case too. If your computer has an SSD, allocate free space (from within Windows’ Disk Management, for example) in both the SSD and the HDD.
If you want Linux and Windows to boot up quickly (in case you dual-boot Linux and Windows), make space (512 Mb) in the SSD for the Linux bootloader, and space in the HDD for the main root partition storage (refer URL).
BE VERY CAREFUL WHILE PARTITIONING. MISTAKES CAN’T BE UNDONE.
In this device, I’ve dedicated the entire HDD to Arch Linux (not dual-booting).
So,
931.5 Gb 931 Gb (ROOT) + 0.5 Gb (512 Mb, BOOT).
/dev/sda is the entire hard drive. If you have an SSD, it might be /dev/sda or /dev/sdb, and the hard drive will be the other device. Identify based on storage size.
Use the command lsblk to verify all storage devices. Use cfdisk DEVICE to check the partitions per device.
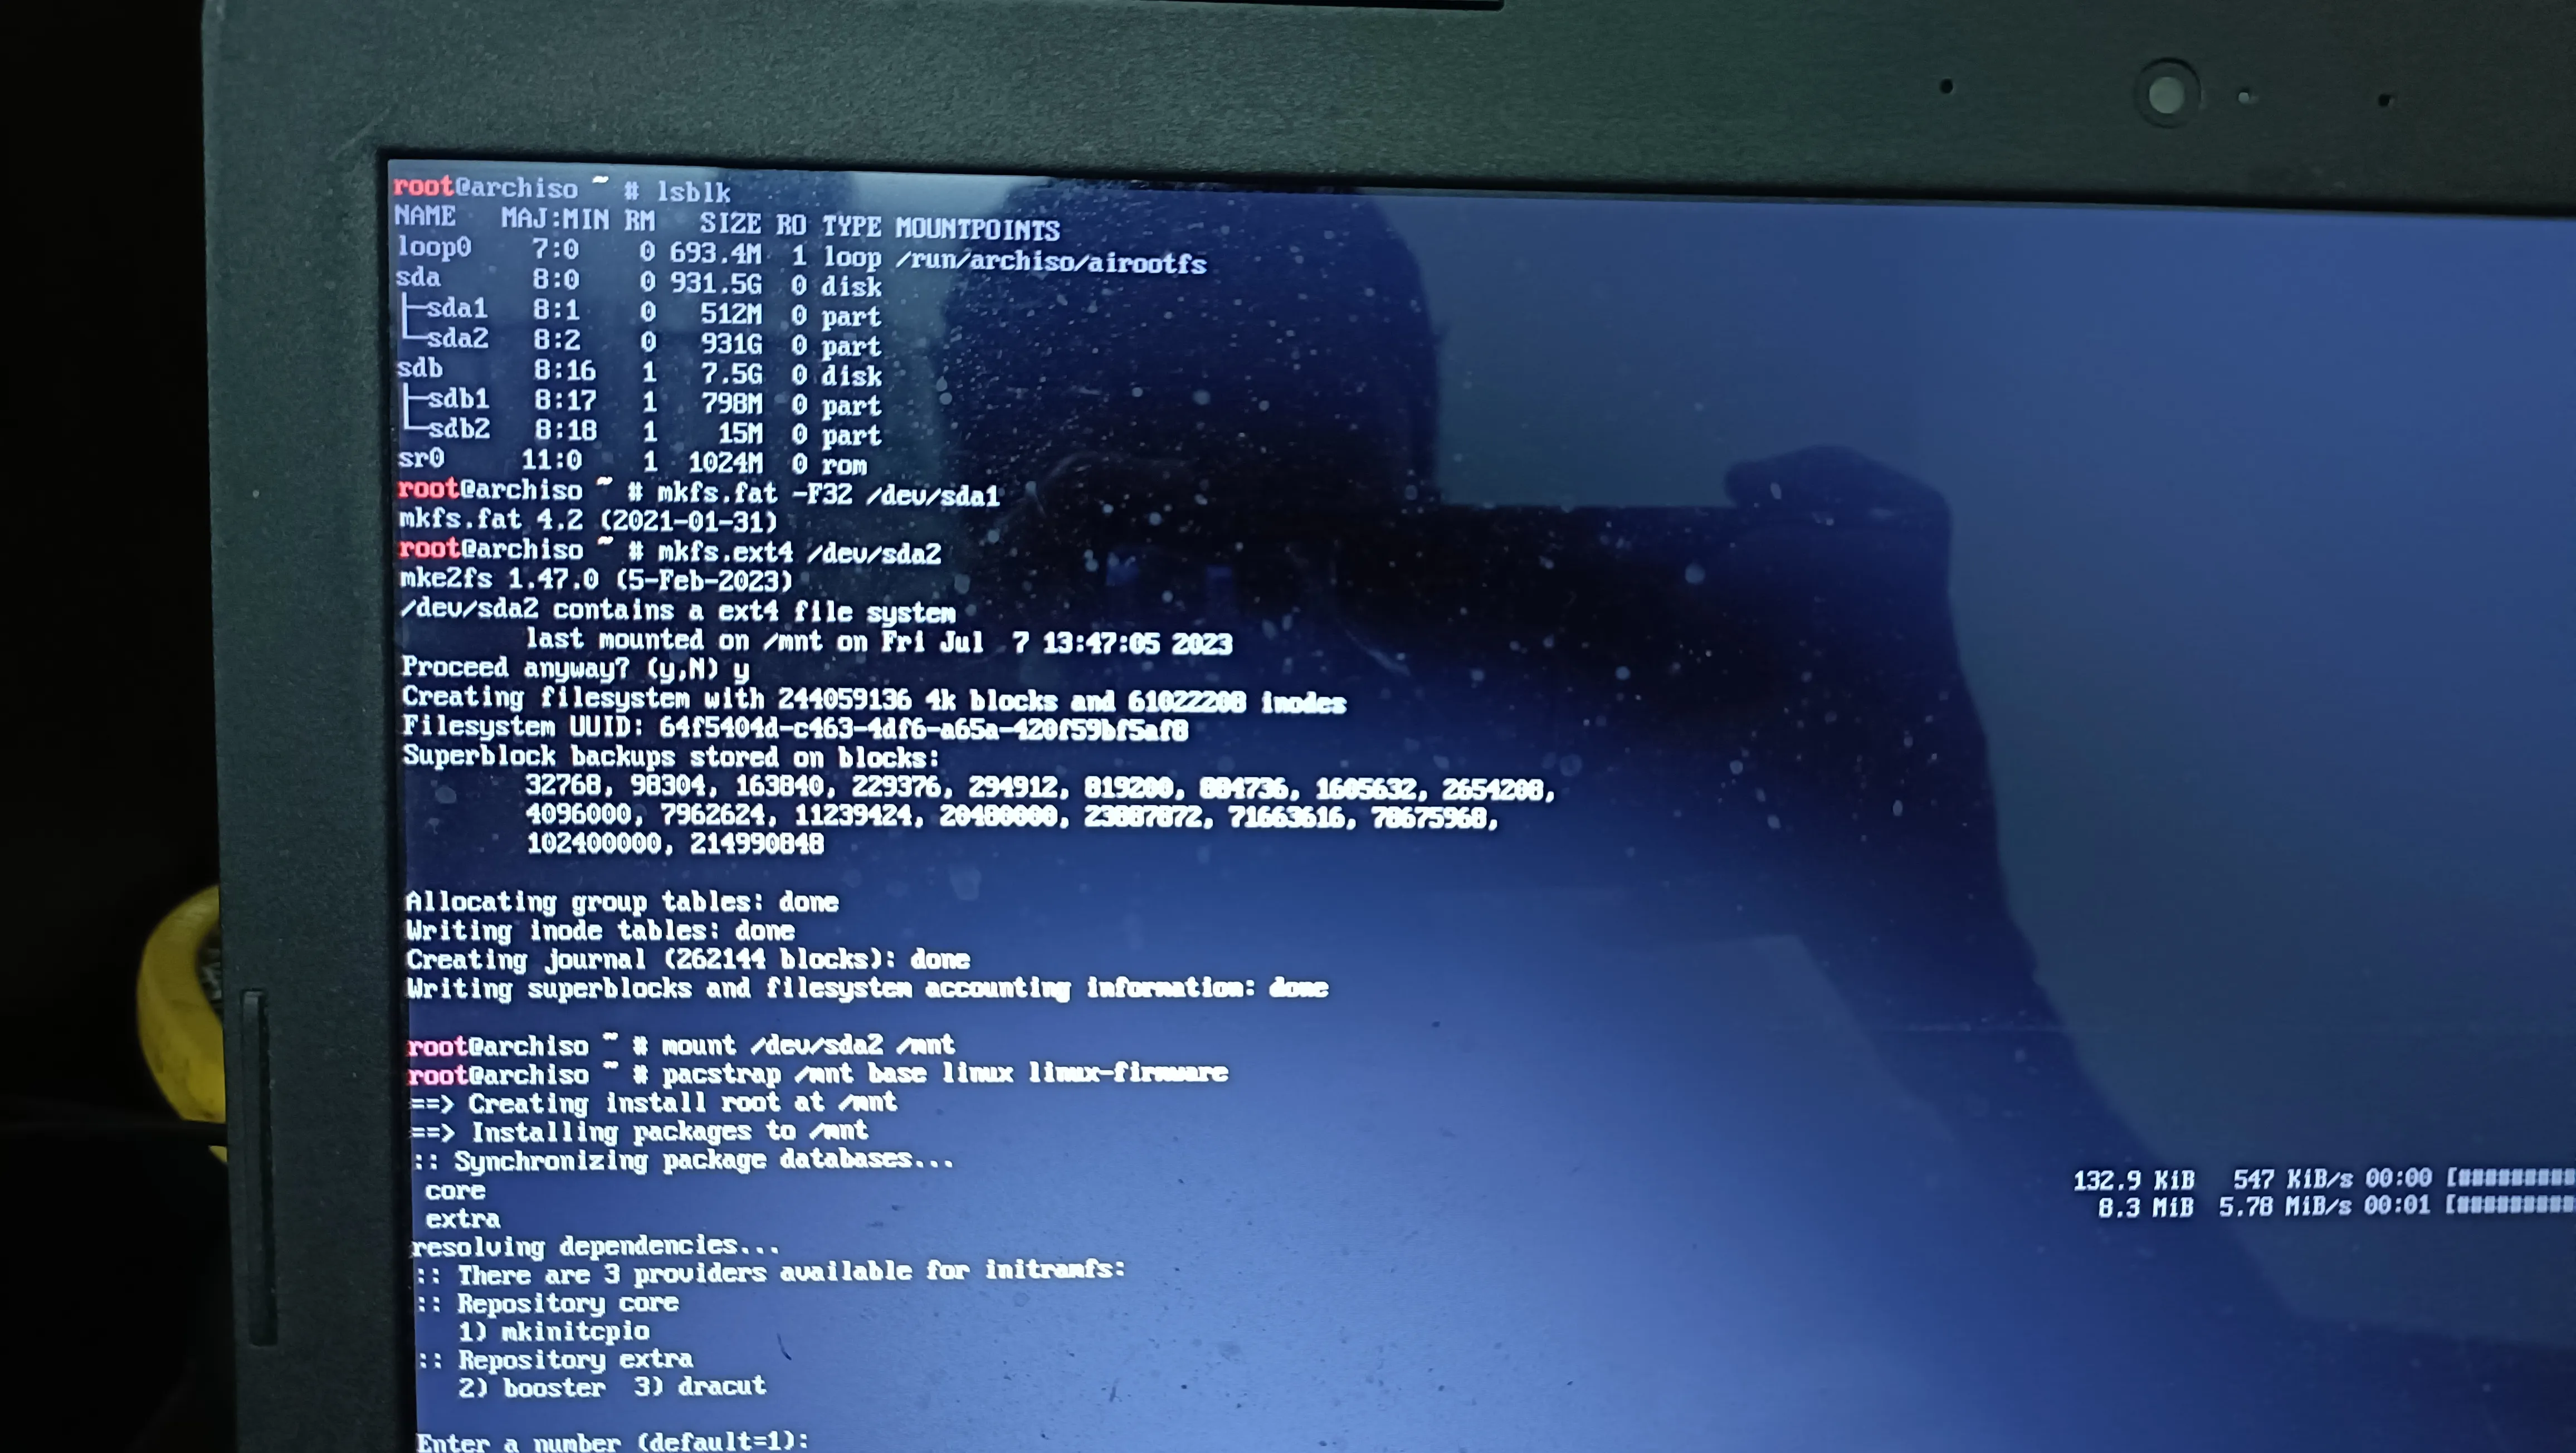
You can observe that sda1 is the EFI bootloader partition, and sda2 is the root partition, based on their sizes. Ignore the device listed at the end (in this case, sdb), as it’s usually the details of the USB drive.
To make partitions,
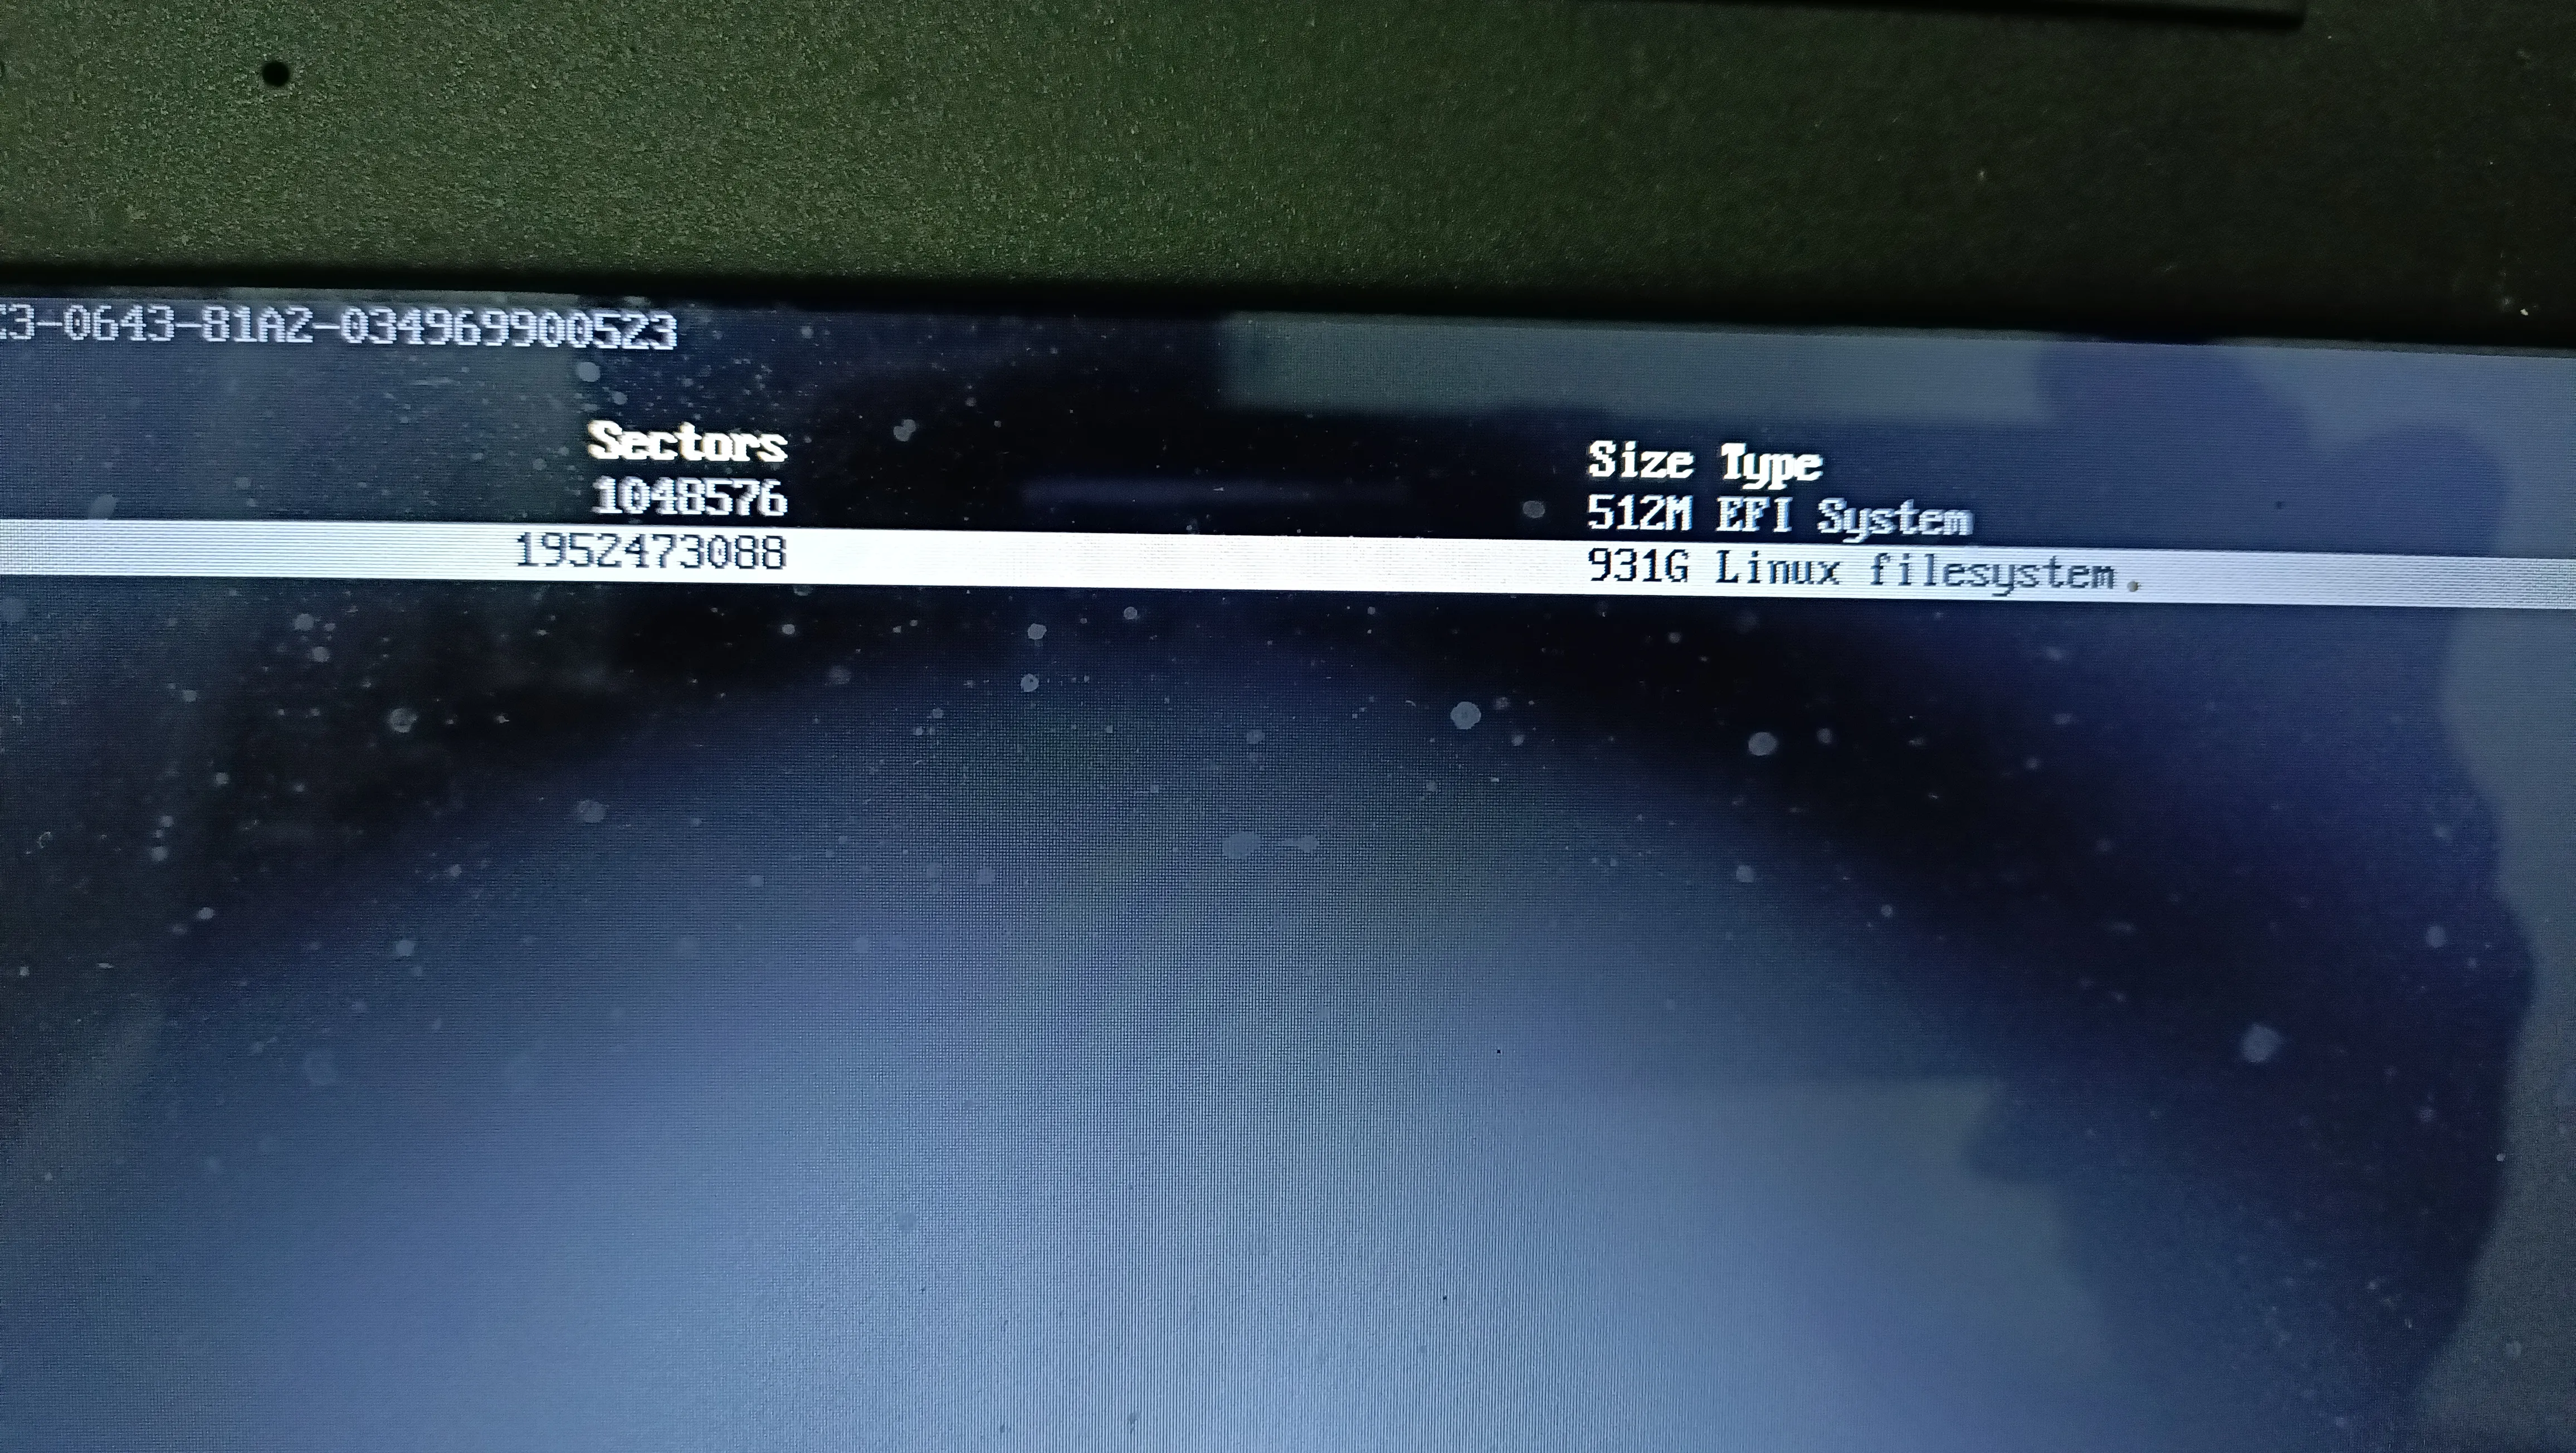
sudo cfdisk /dev/sda # for partitioning hard drive in my caseNavigate to the Free space entry using arrow keys. In the free space allocated previously, choose New (press Enter) to create a partition. Press Enter, leaving the default “Partition size” mentioned. Press the Right arrow key to navigate to [Type], and choose Linux filesystem.
Based on where you allocated space for the boot partition on Windows (on /dev/sda or on /dev/sdb), repeat the process to create an UEFI/BIOS partition. Choose EFI System to create one for a UEFI system, and BIOS boot to create a BIOS boot partition.
In this case, the root and EFI boot partitions have been created on the same /dev/sda device.
- Formatting the created partitions
You’ve created root and boot partitions. They must be formatted with appropriate filesystems for them to serve their purpose.
To format them correctly:
mkfs.fat -F32 /dev/sda1Replace sda1 with the correct boot partition/device.
mkfs.ext4 /dev/sda2Again, replace sda2 with the correct root partition/device.
- Mounting the freshly minted filesystems
mkdir -p /mntTo mount the file systems in a directory mnt in /.
It’s to be created, as it doesn’t exist.
This directory, short for mount, is a “mountpoint” for external storage devices on Linux systems.
mount /dev/sda2 /mnt # mounting root partition (/)
mount /dev/sda1 /mnt/boot # mounting boot partition (/boot)
As above, replace sda1 and sda2 with the correct filesystems on your computer.
- To create a new minimal system from scratch, with the linux kernel,
pacstrap /mnt base linux linux-firmwareThis step takes some time, as it installs the kernel, essential packages and firmware. Press Enter when asked to enter numbers. Feel free to walk away for a cup of coffee after this ;)
- Generating the filesystem table
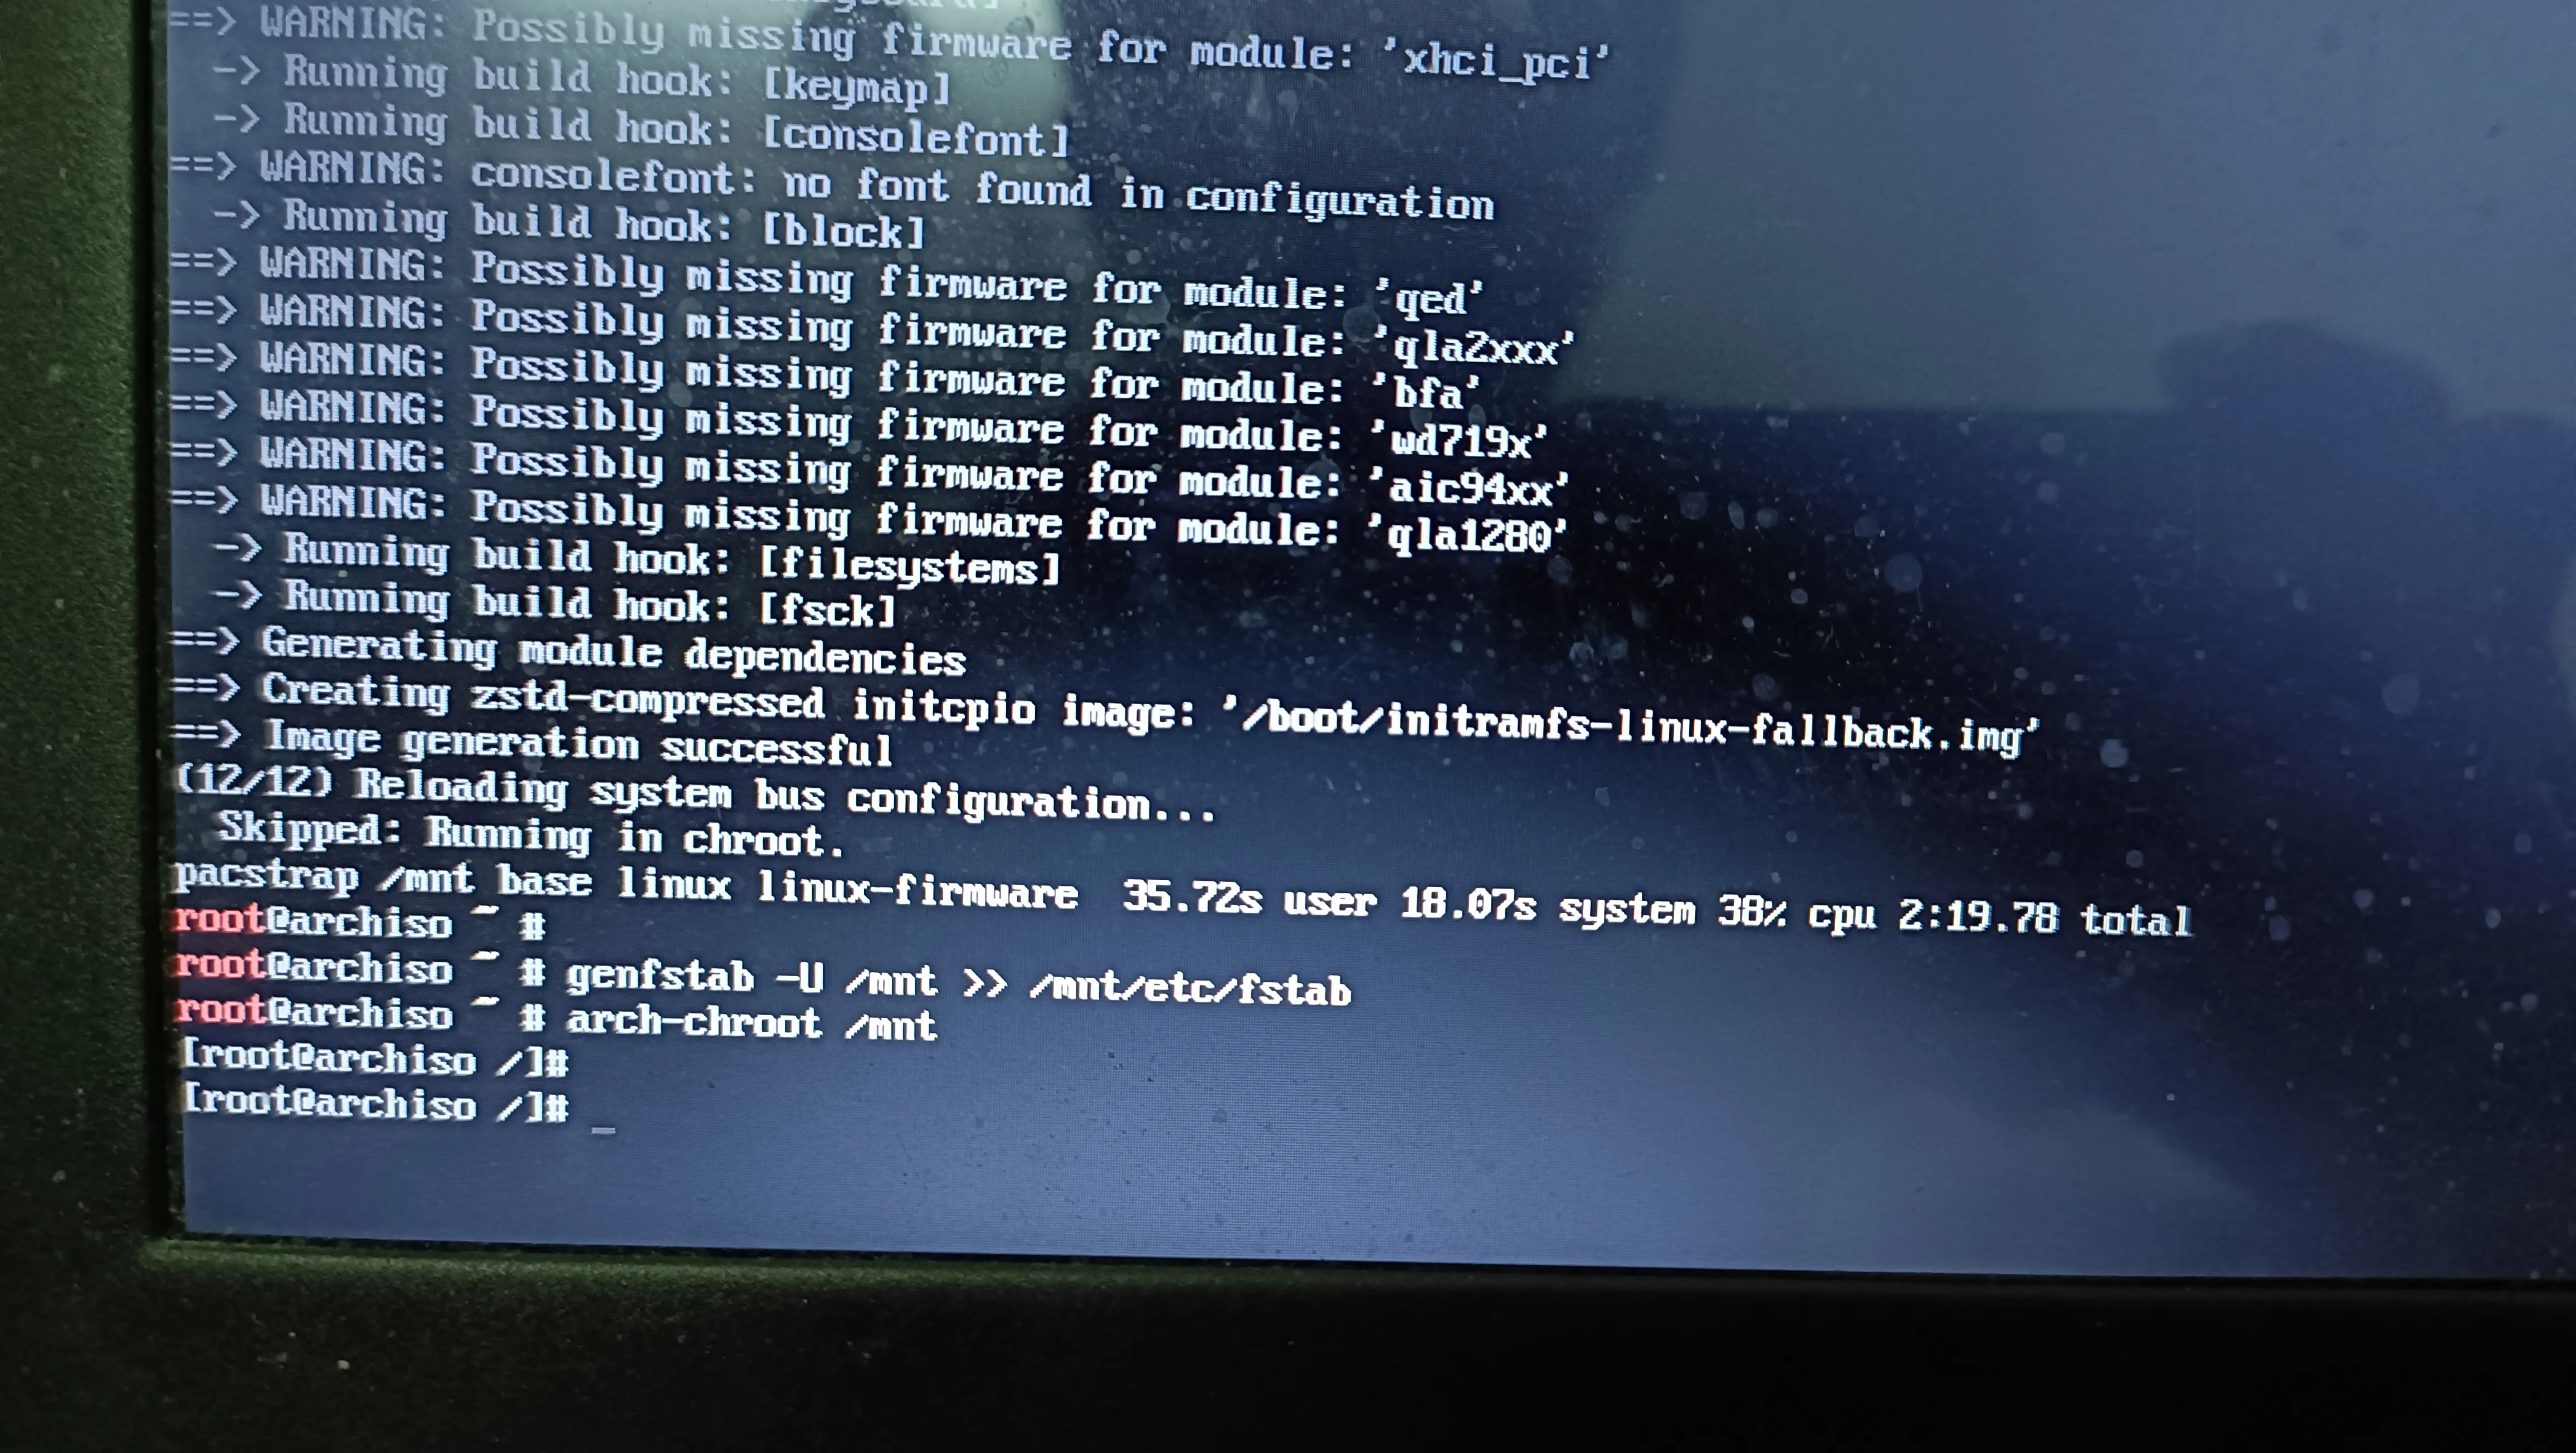
genfstab -U /mnt >> /mnt/etc/fstabThis creates a file system table, and records the output in /etc/fstab on the installed OS. This file lets the OS know which device to mount automatically during boot.
- Post-installation steps
Congrats!! You’ve installed Arch Linux on your computer!
To access the installed system, from the live USB medium, without booting the OS,
arch-chroot /mnt # changing root directoryWhat you can access now is the installed OS’ shell. Commands run directly on the OS. The prompt should change to [root@archiso /]# .
To set timezone info,
ln -sf /usr/share/zoneinfo/REGION/CITY /etc/localtime If you live in India, type:
ln -sf /usr/share/zoneinfo/Asia/Kolkata /etc/localtime # irrespective of Indian cityIf you’re unsure about the choice of cities available, list the contents of the /usr/share/zoneinfo/ and /usr/share/zoneinfo/<REGION> directories:
ls /usr/share/zoneinfo
# note the region, such as Asia, America, etc.
ls /usr/share/zoneinfo/<REGION>/ # REGION is from above.
# note the city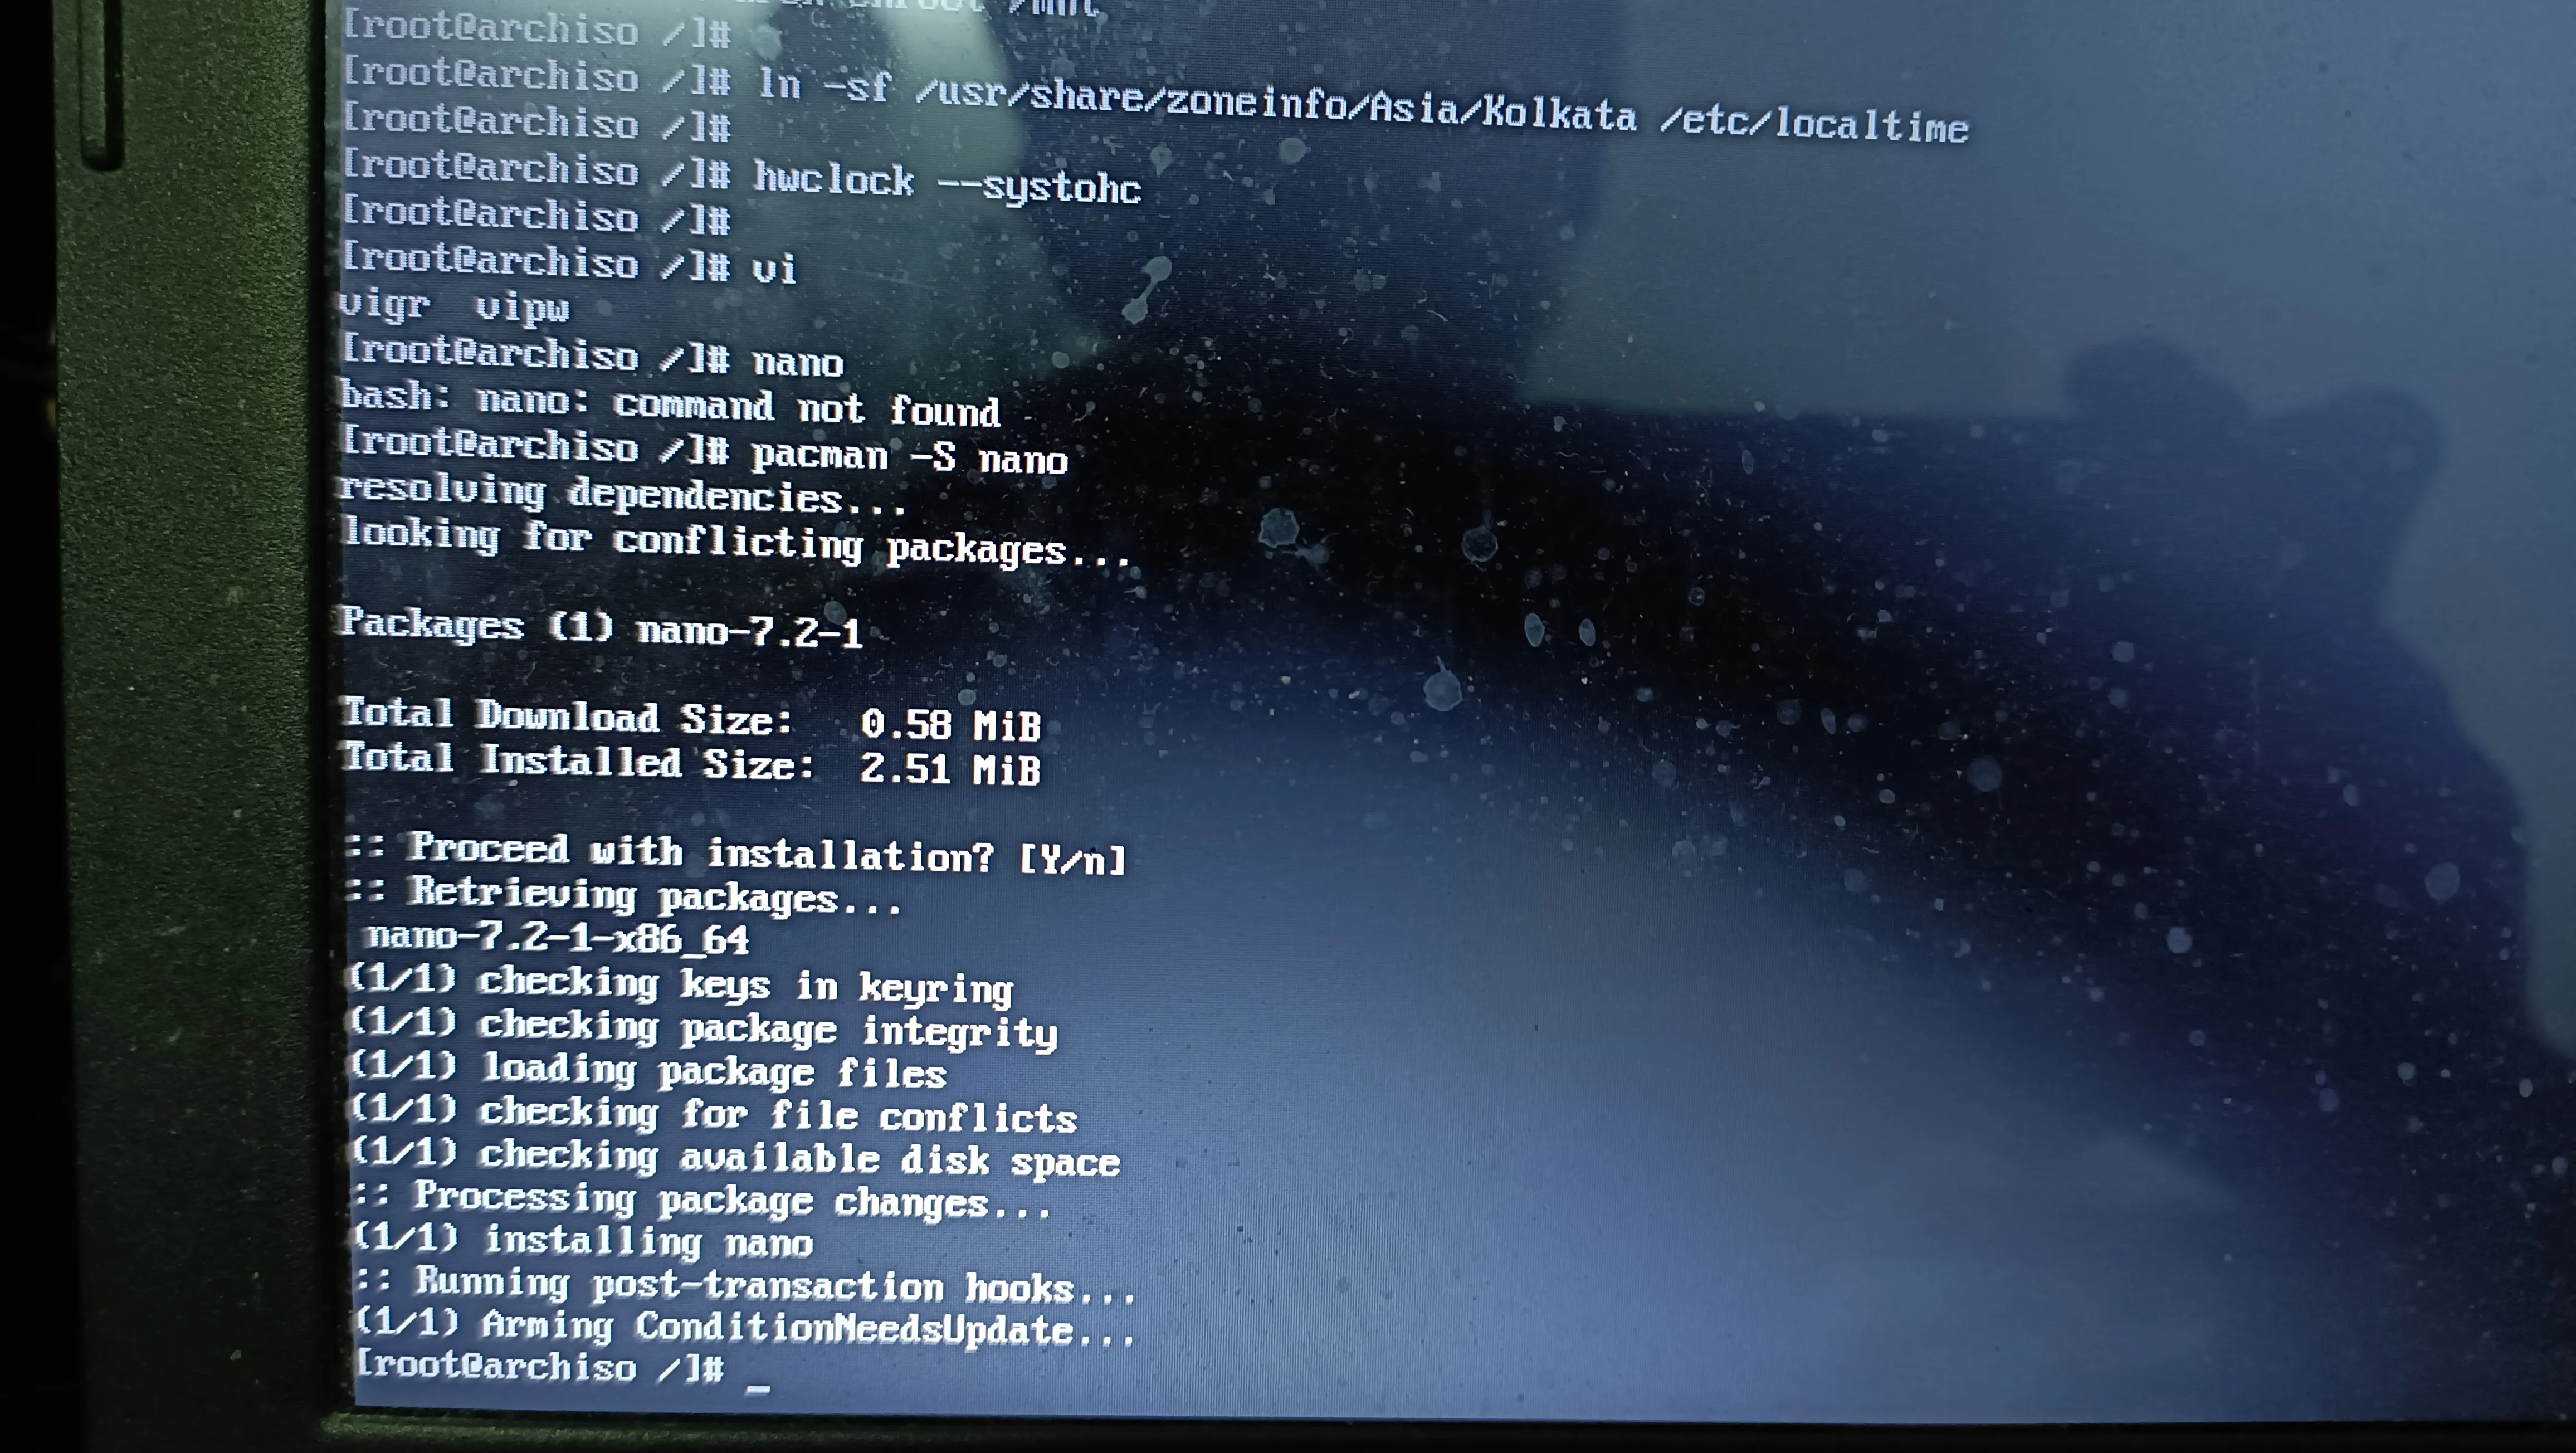
To synchronise the hardware and software clocks,
hwclock --systohcYou probably do not have any text editor installed. Install a text-based one, called Nano, using the package manager, Pacman:
pacman -S nanoType Y or Enter to confirm the installation.
You can now use this editor to edit files in the following steps.
To configure locale settings,
nano /etc/locale.confUncomment the first line starting with en_US.UTF8 (remove the pound sign at the start of the line), to set your locale to “US English”.
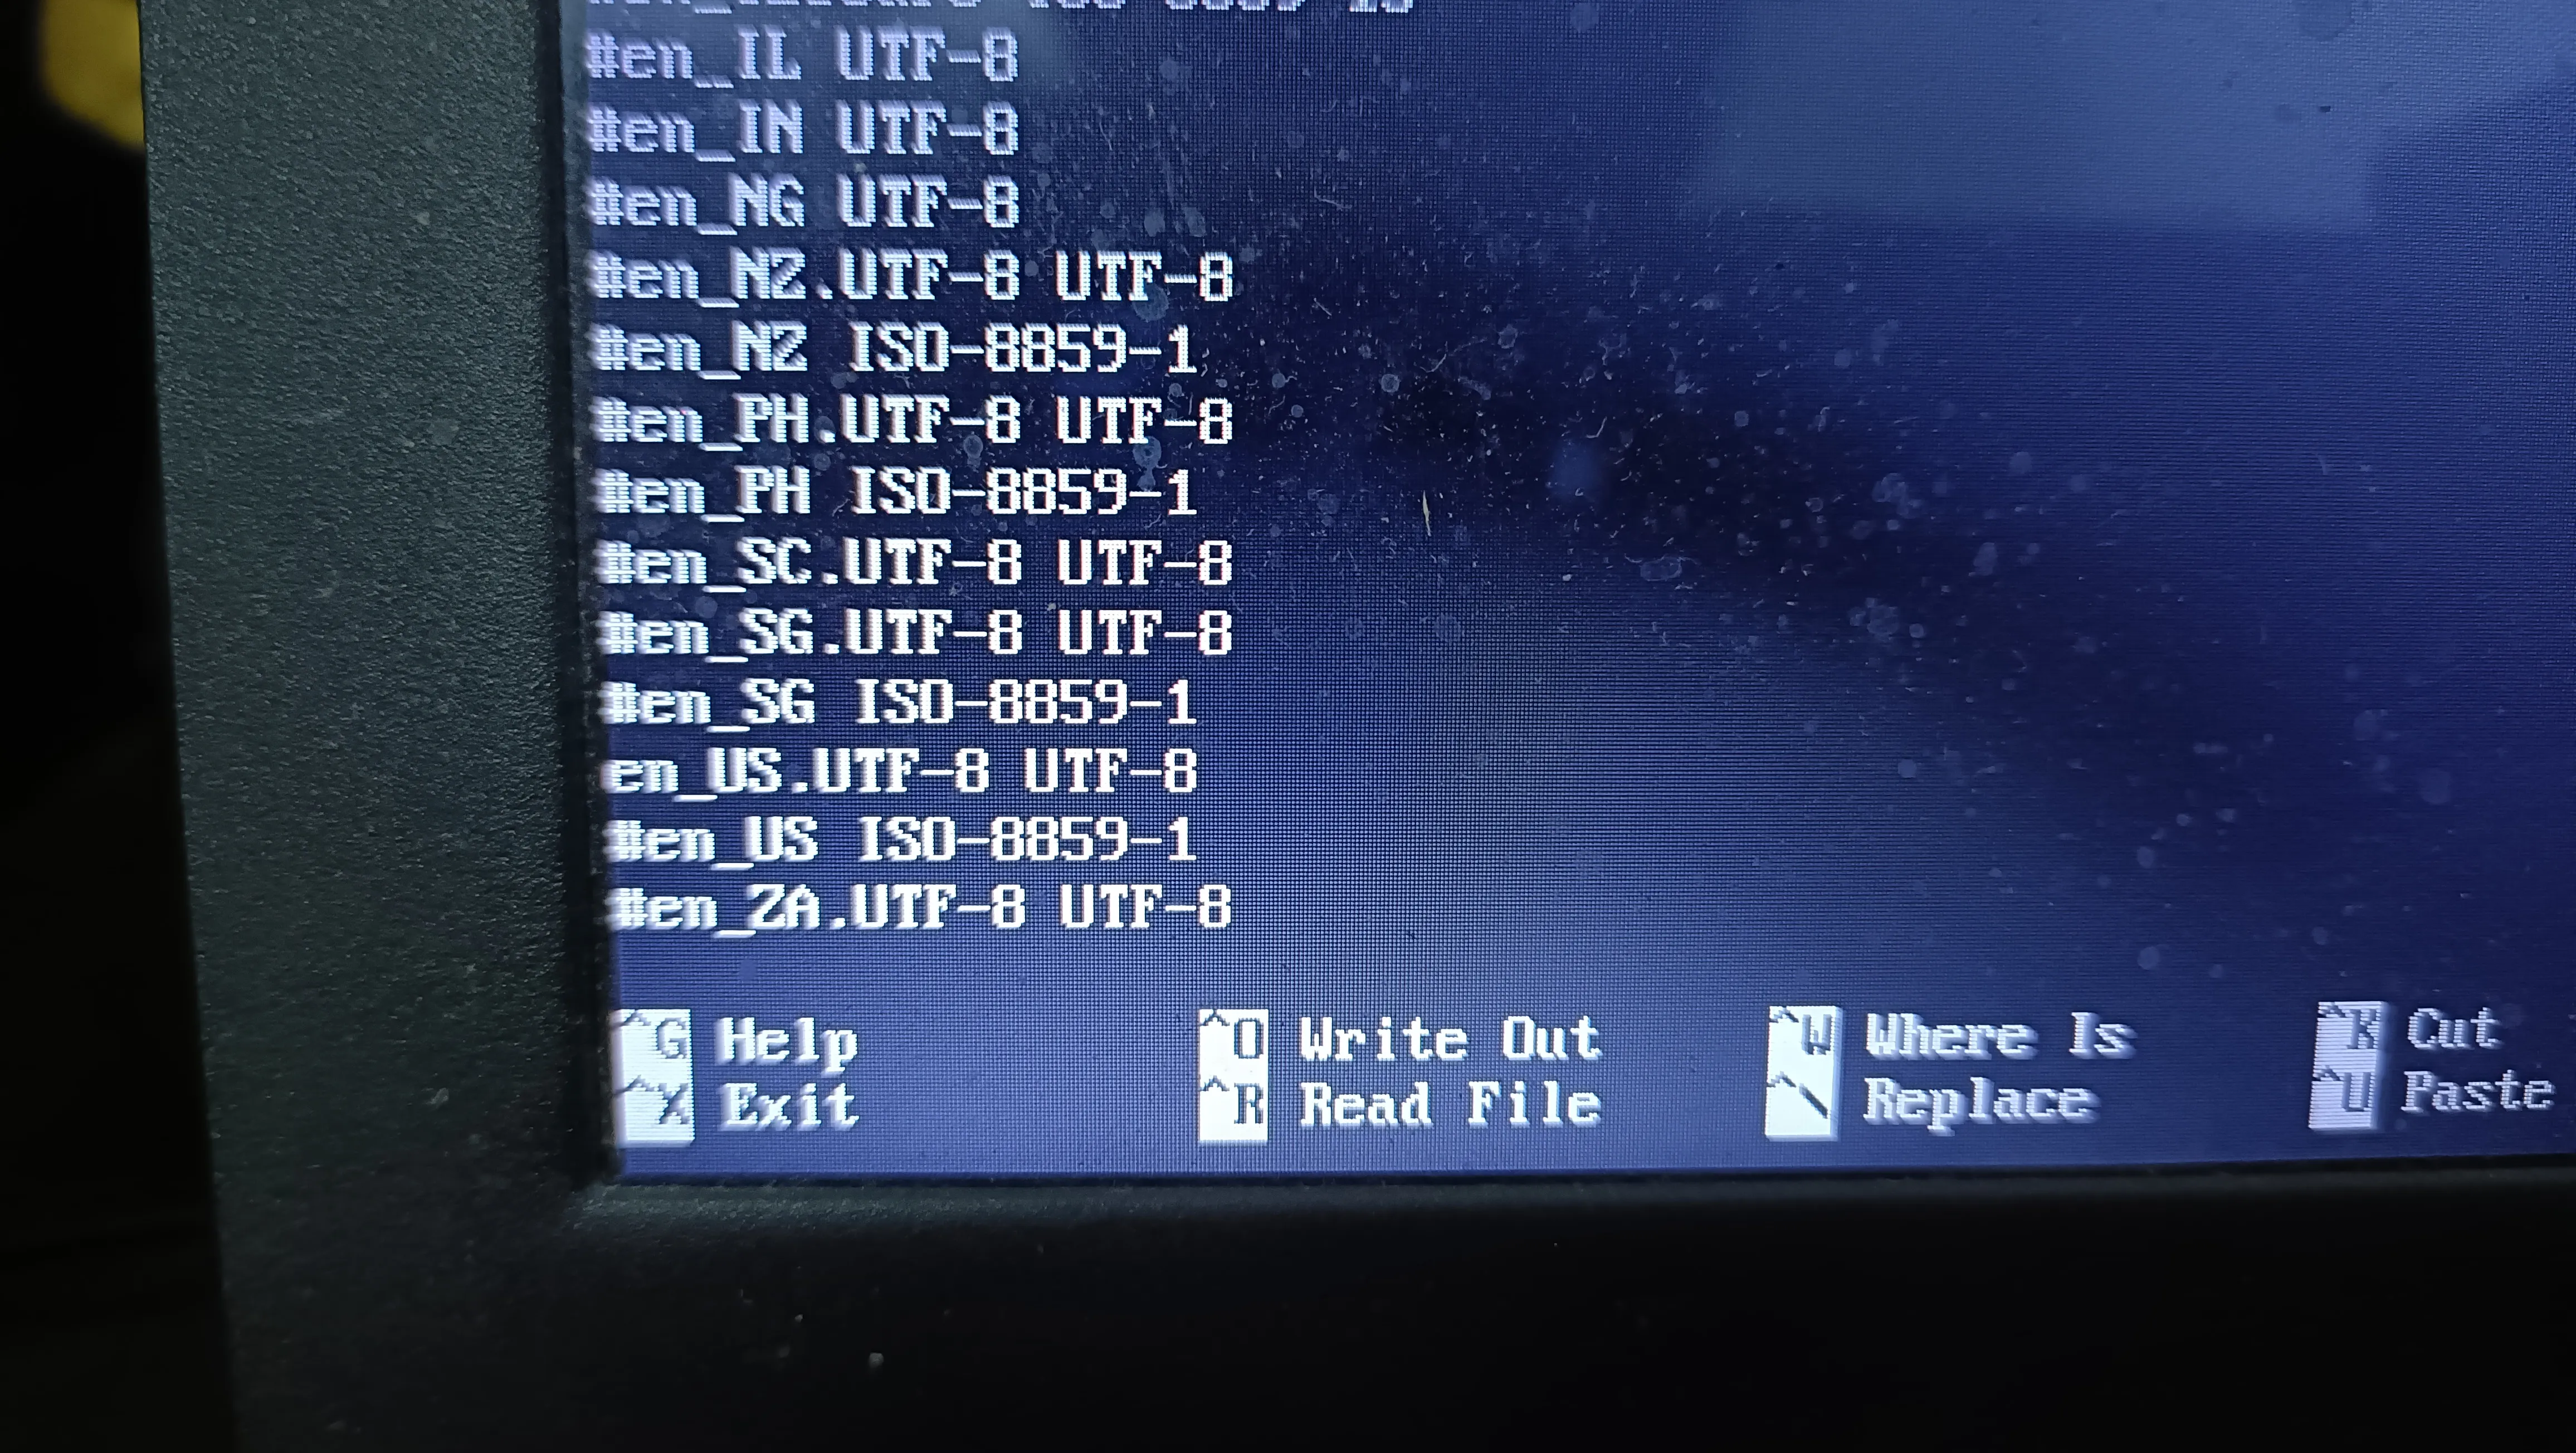
Press Ctrl-S to save, Ctrl-x to exit Nano.
Type this to generate the new locale:
locale-genTo map IP addresses to domains, edit the /etc/hosts file.
Set a hostname with:
hostnamectl set-hostname NAMEReplace NAME with a unique hostname for the device.
Update to the following:
127.0.0.1   localhost
::1         localhost
127.0.1.1   NAME.localdomain    NAME
Replace NAME with the hostname set earlier using hostnamectl.
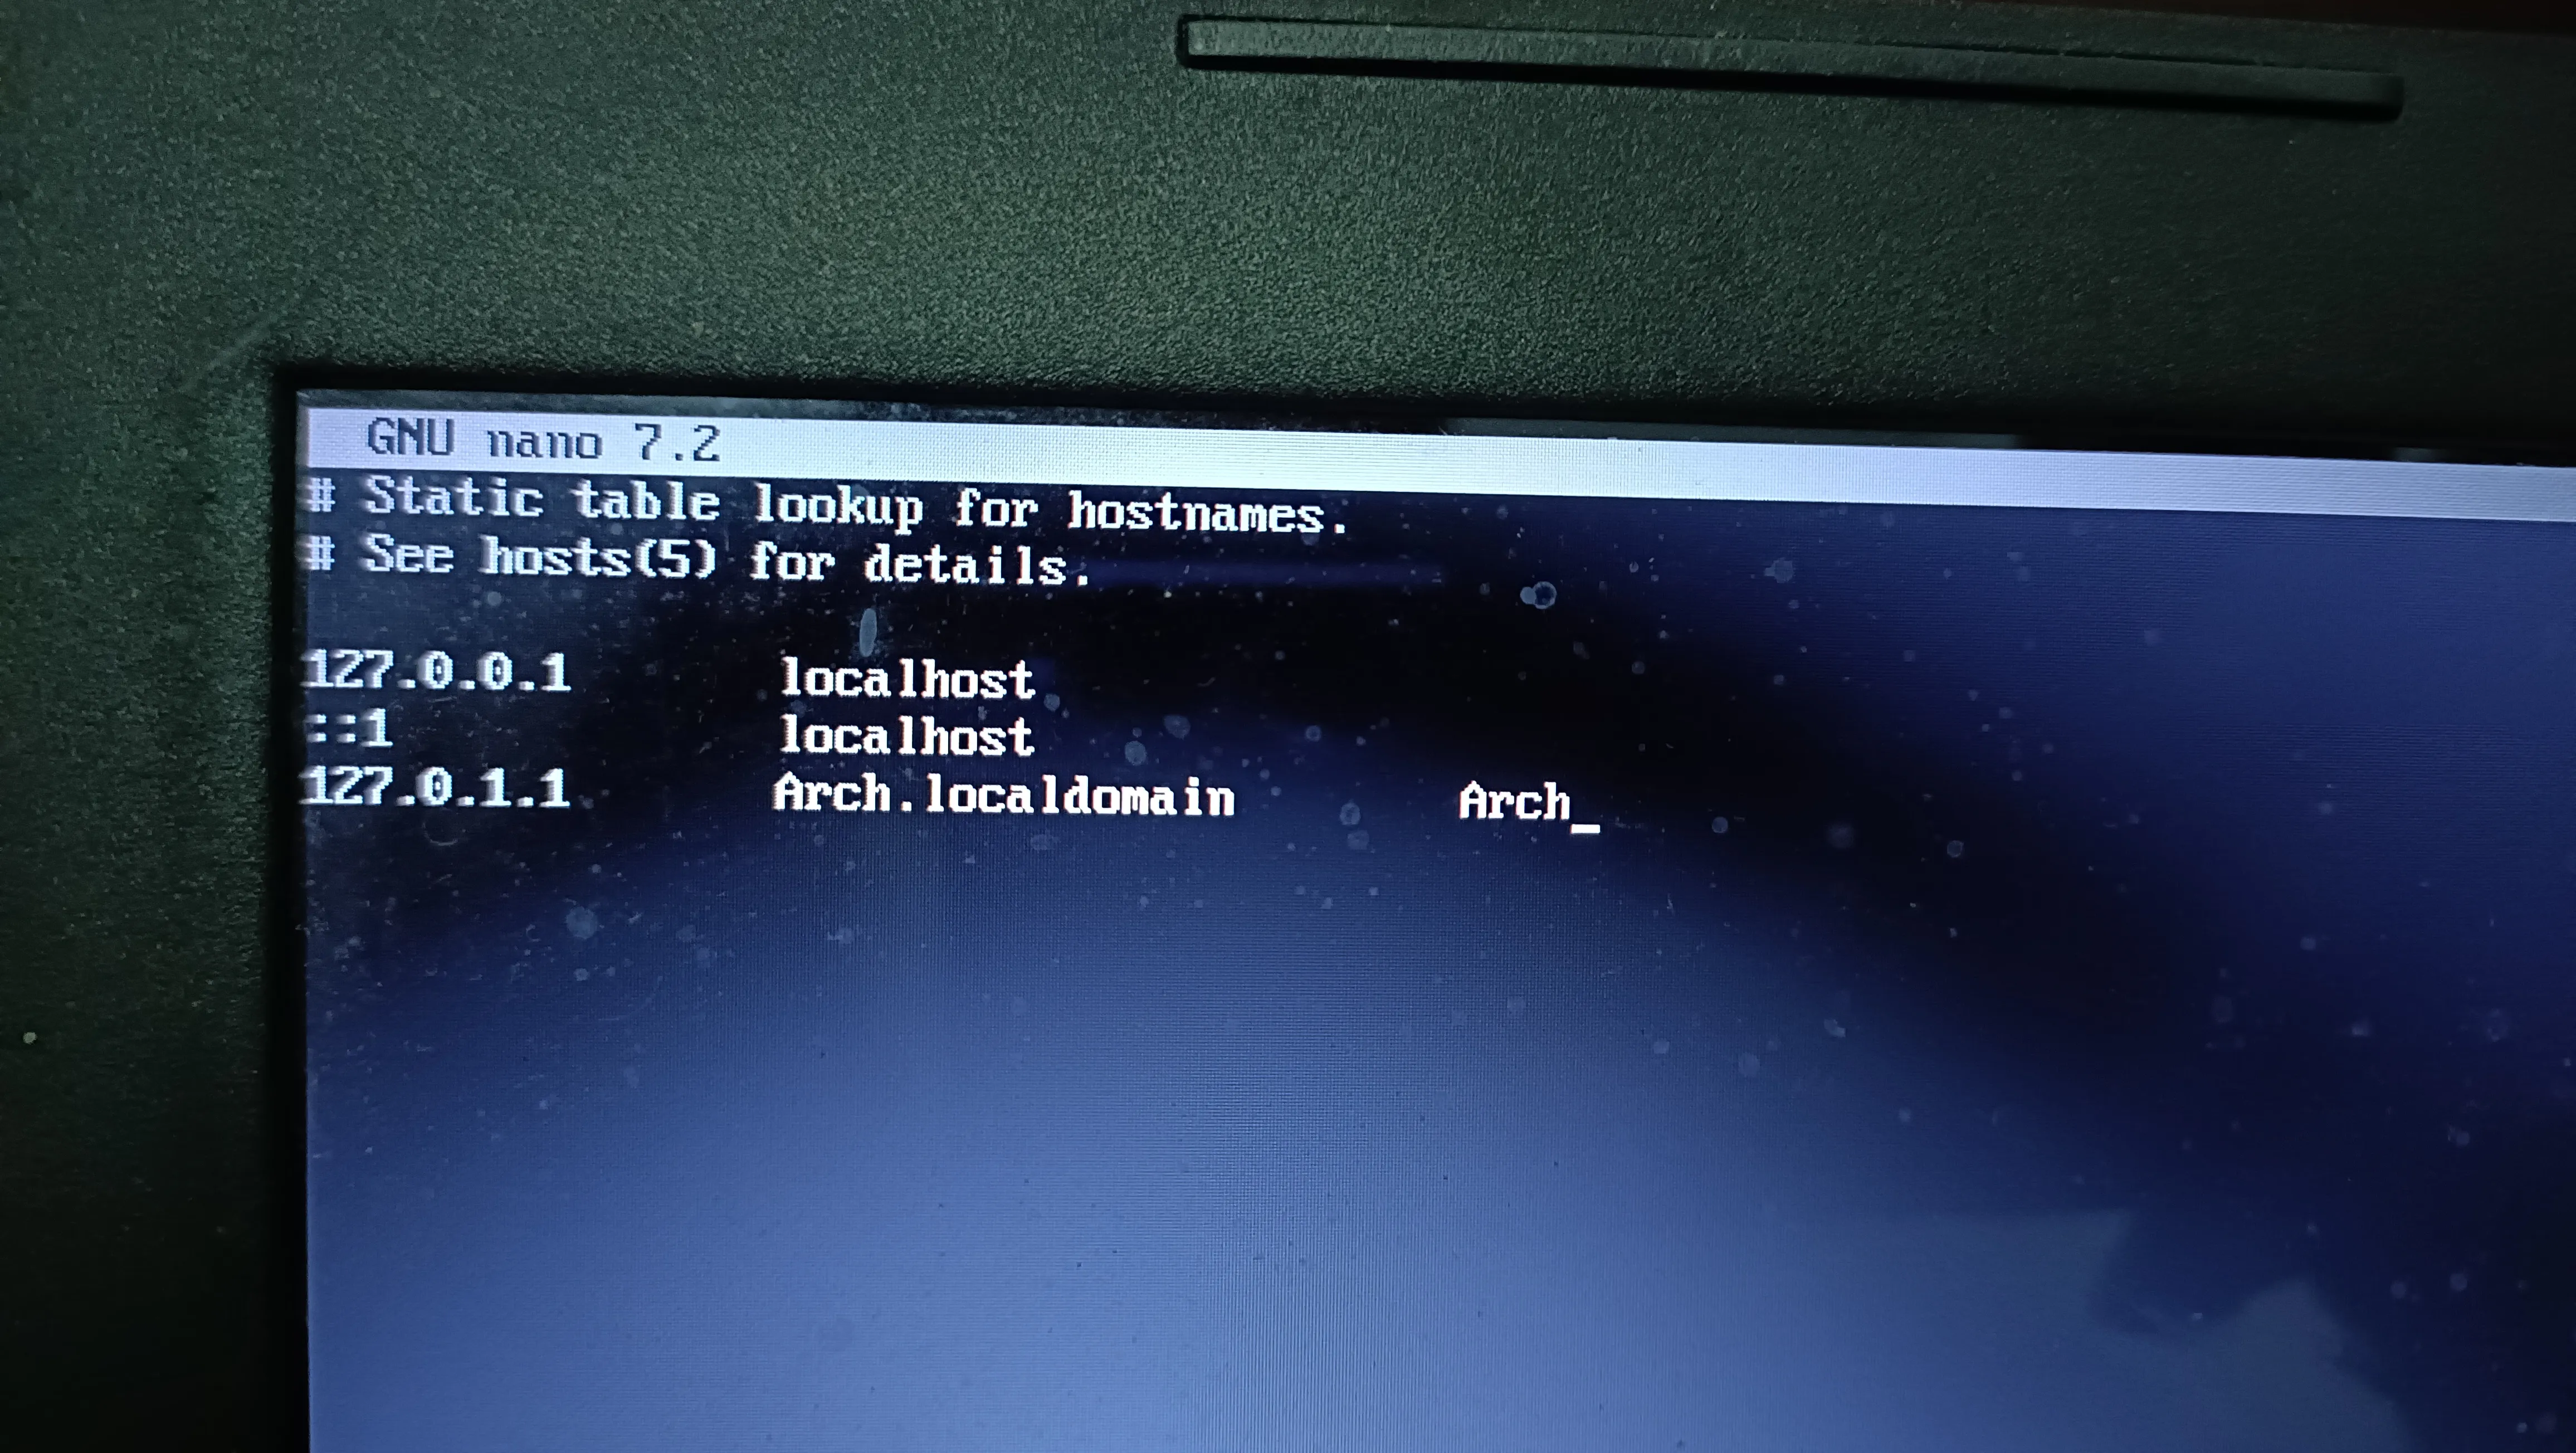 In this case,
 Arch is my device’s hostname.
- User creation
Firstly, install the sudo program to give a normal user the ability to run commands as the root user. Type:
pacman -S sudo # press Enter when asked for confirmationIMPORTANT: Add a password for the root user,
passwdEnter a strong and complicated password. Forgetting this password would be catastrophic. The password would not be visible when typing on the screen (as a safety measure).
It is recommended to create an privileged user, rather than perform all tasks as root (UNSAFE!).
To add a user, say USER, type:
useradd USER # replace USER with something else
passwd USER # to set admin password for USER
By default, the user would not be allowed to run commands as root using sudo. For this to happen, edit the /etc/sudoers file using Nano:
nano /etc/sudoersUncomment the line saying:
%wheel ALL=(ALL:ALL) ALL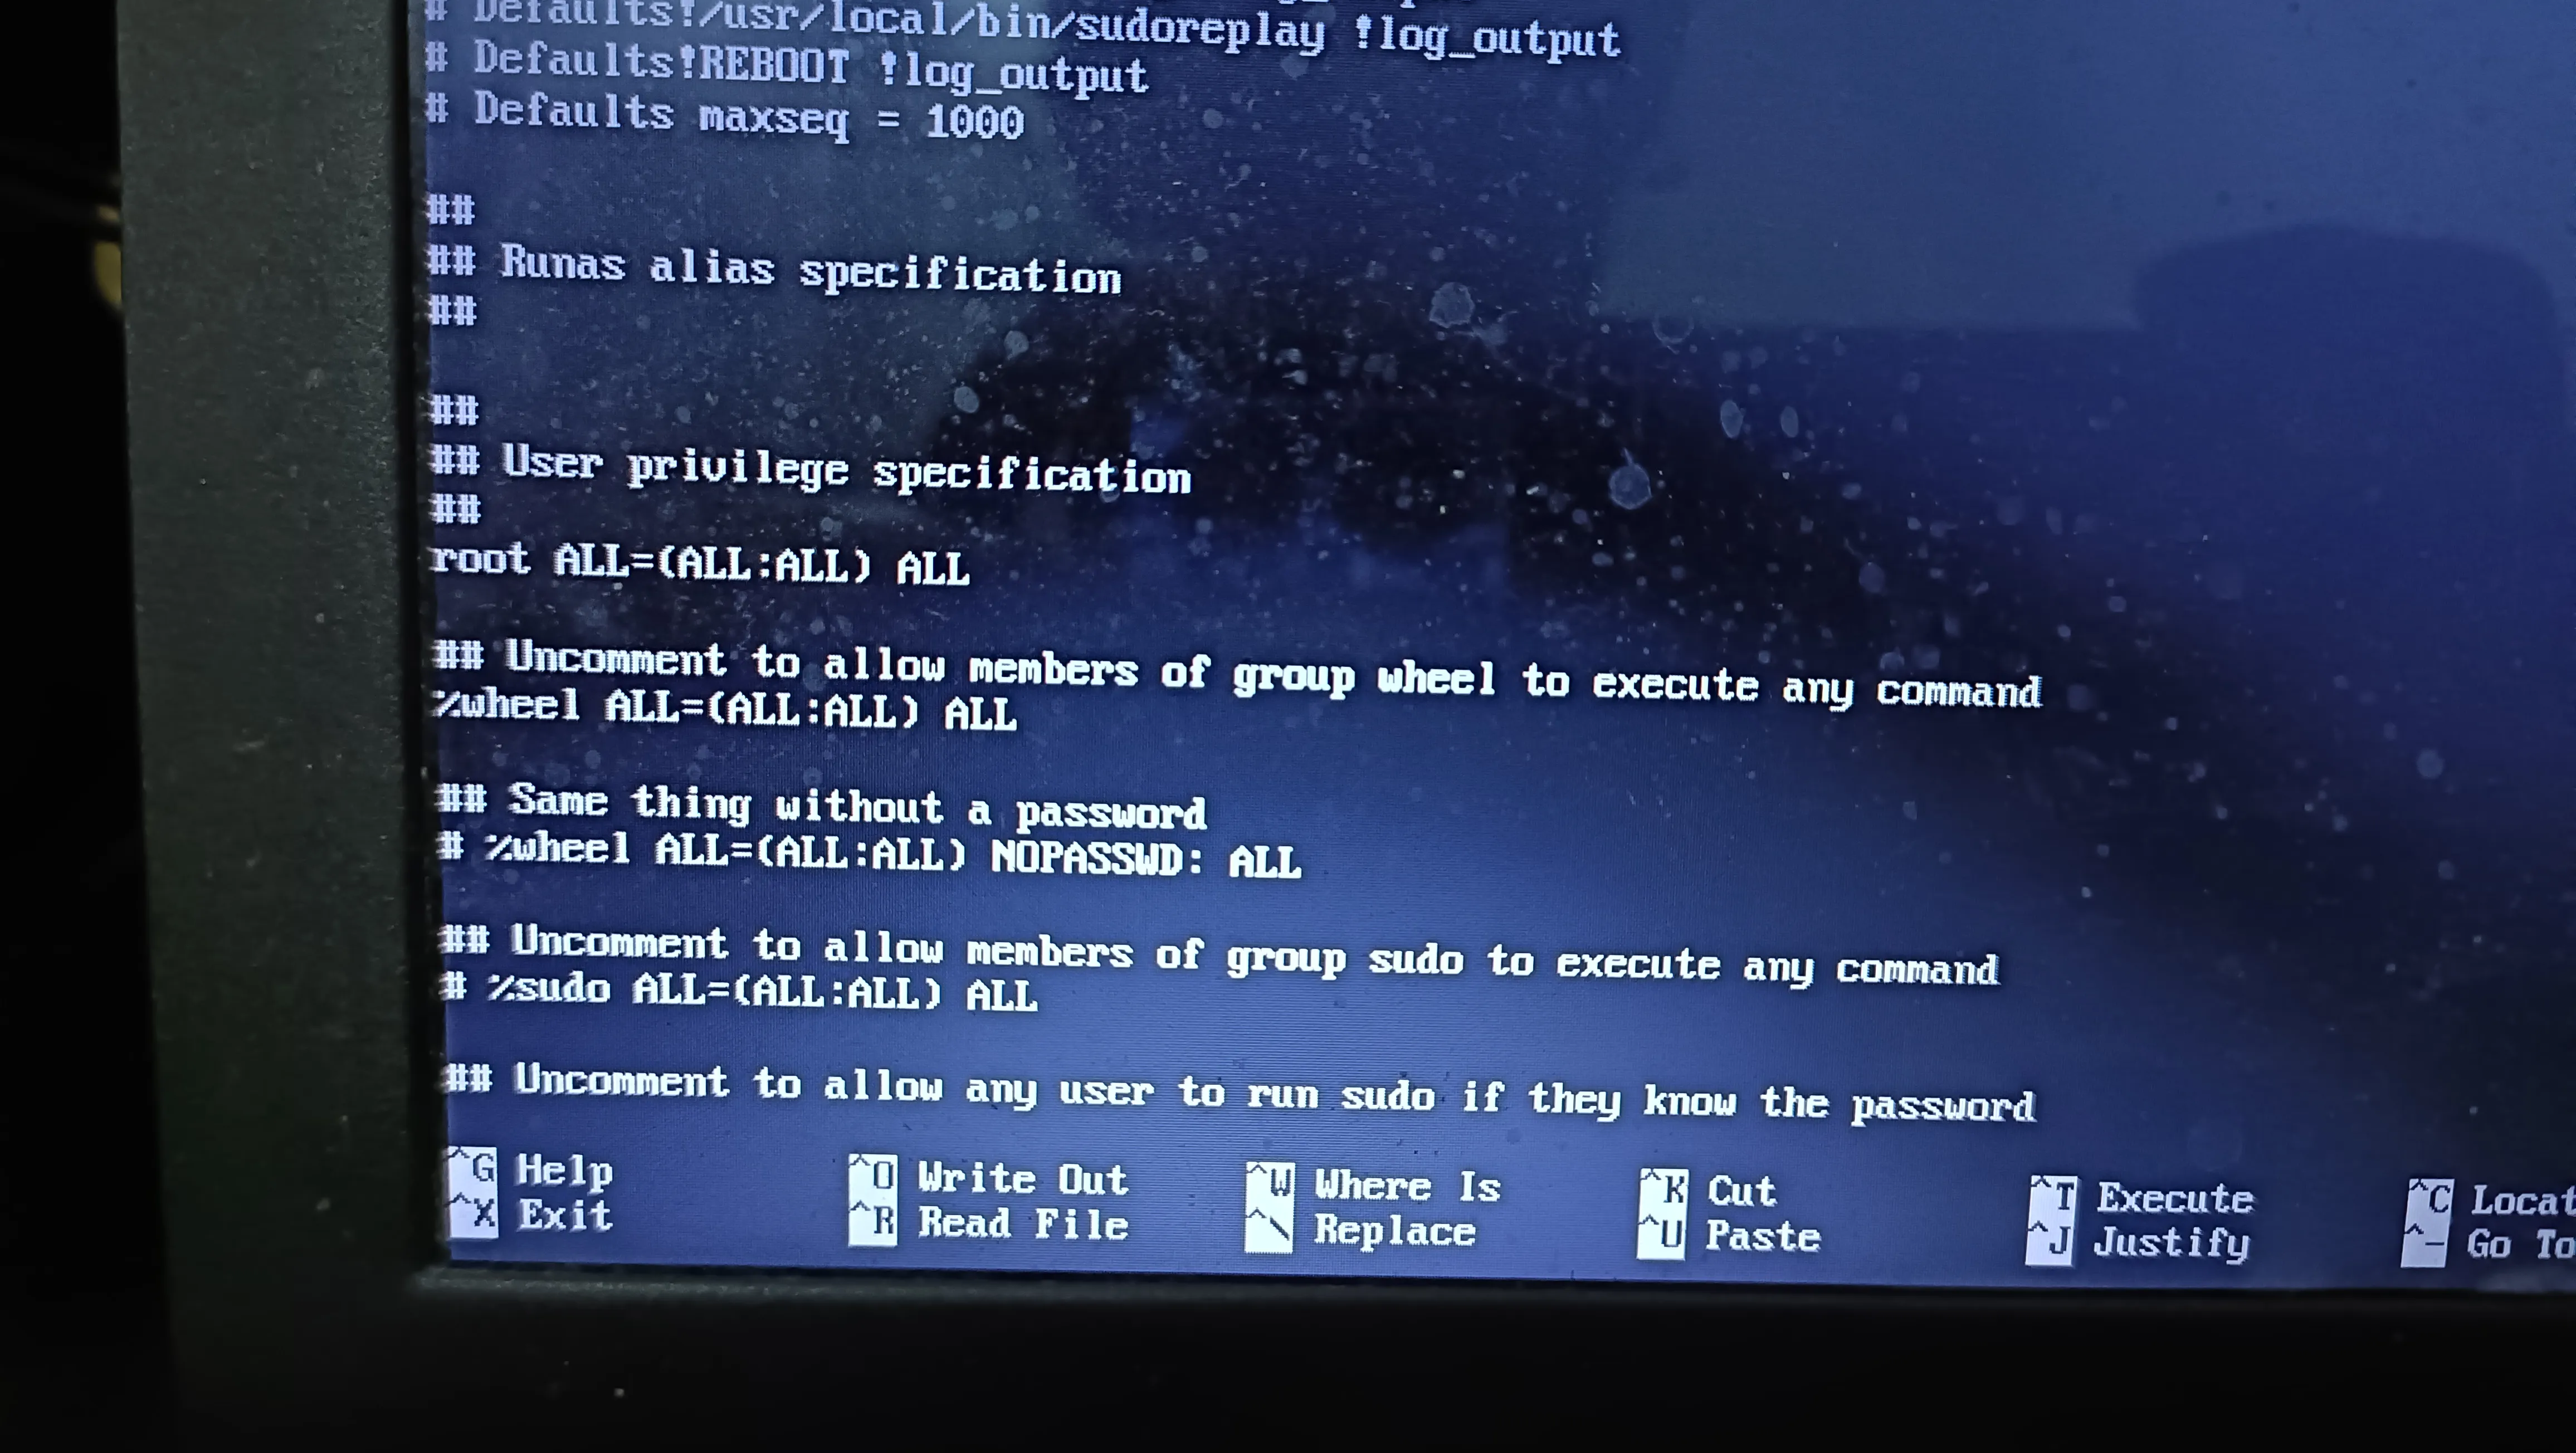
You must now add your user to the wheel users group. Type:
sudo usermod -aG wheel USERReplace USER with the user you just created.
Now you have a regular user who can execute commands as root using sudo.
- Installing the bootloader, wireless network tools
Install packages using Pacman:
pacman -S efibootmgr network-manager-applet wireless_tools wpa_supplicant dialog os-prober mtools dosfstools base-devel linux-headersOnce the installation finishes, you can proceed to install the bootloader.
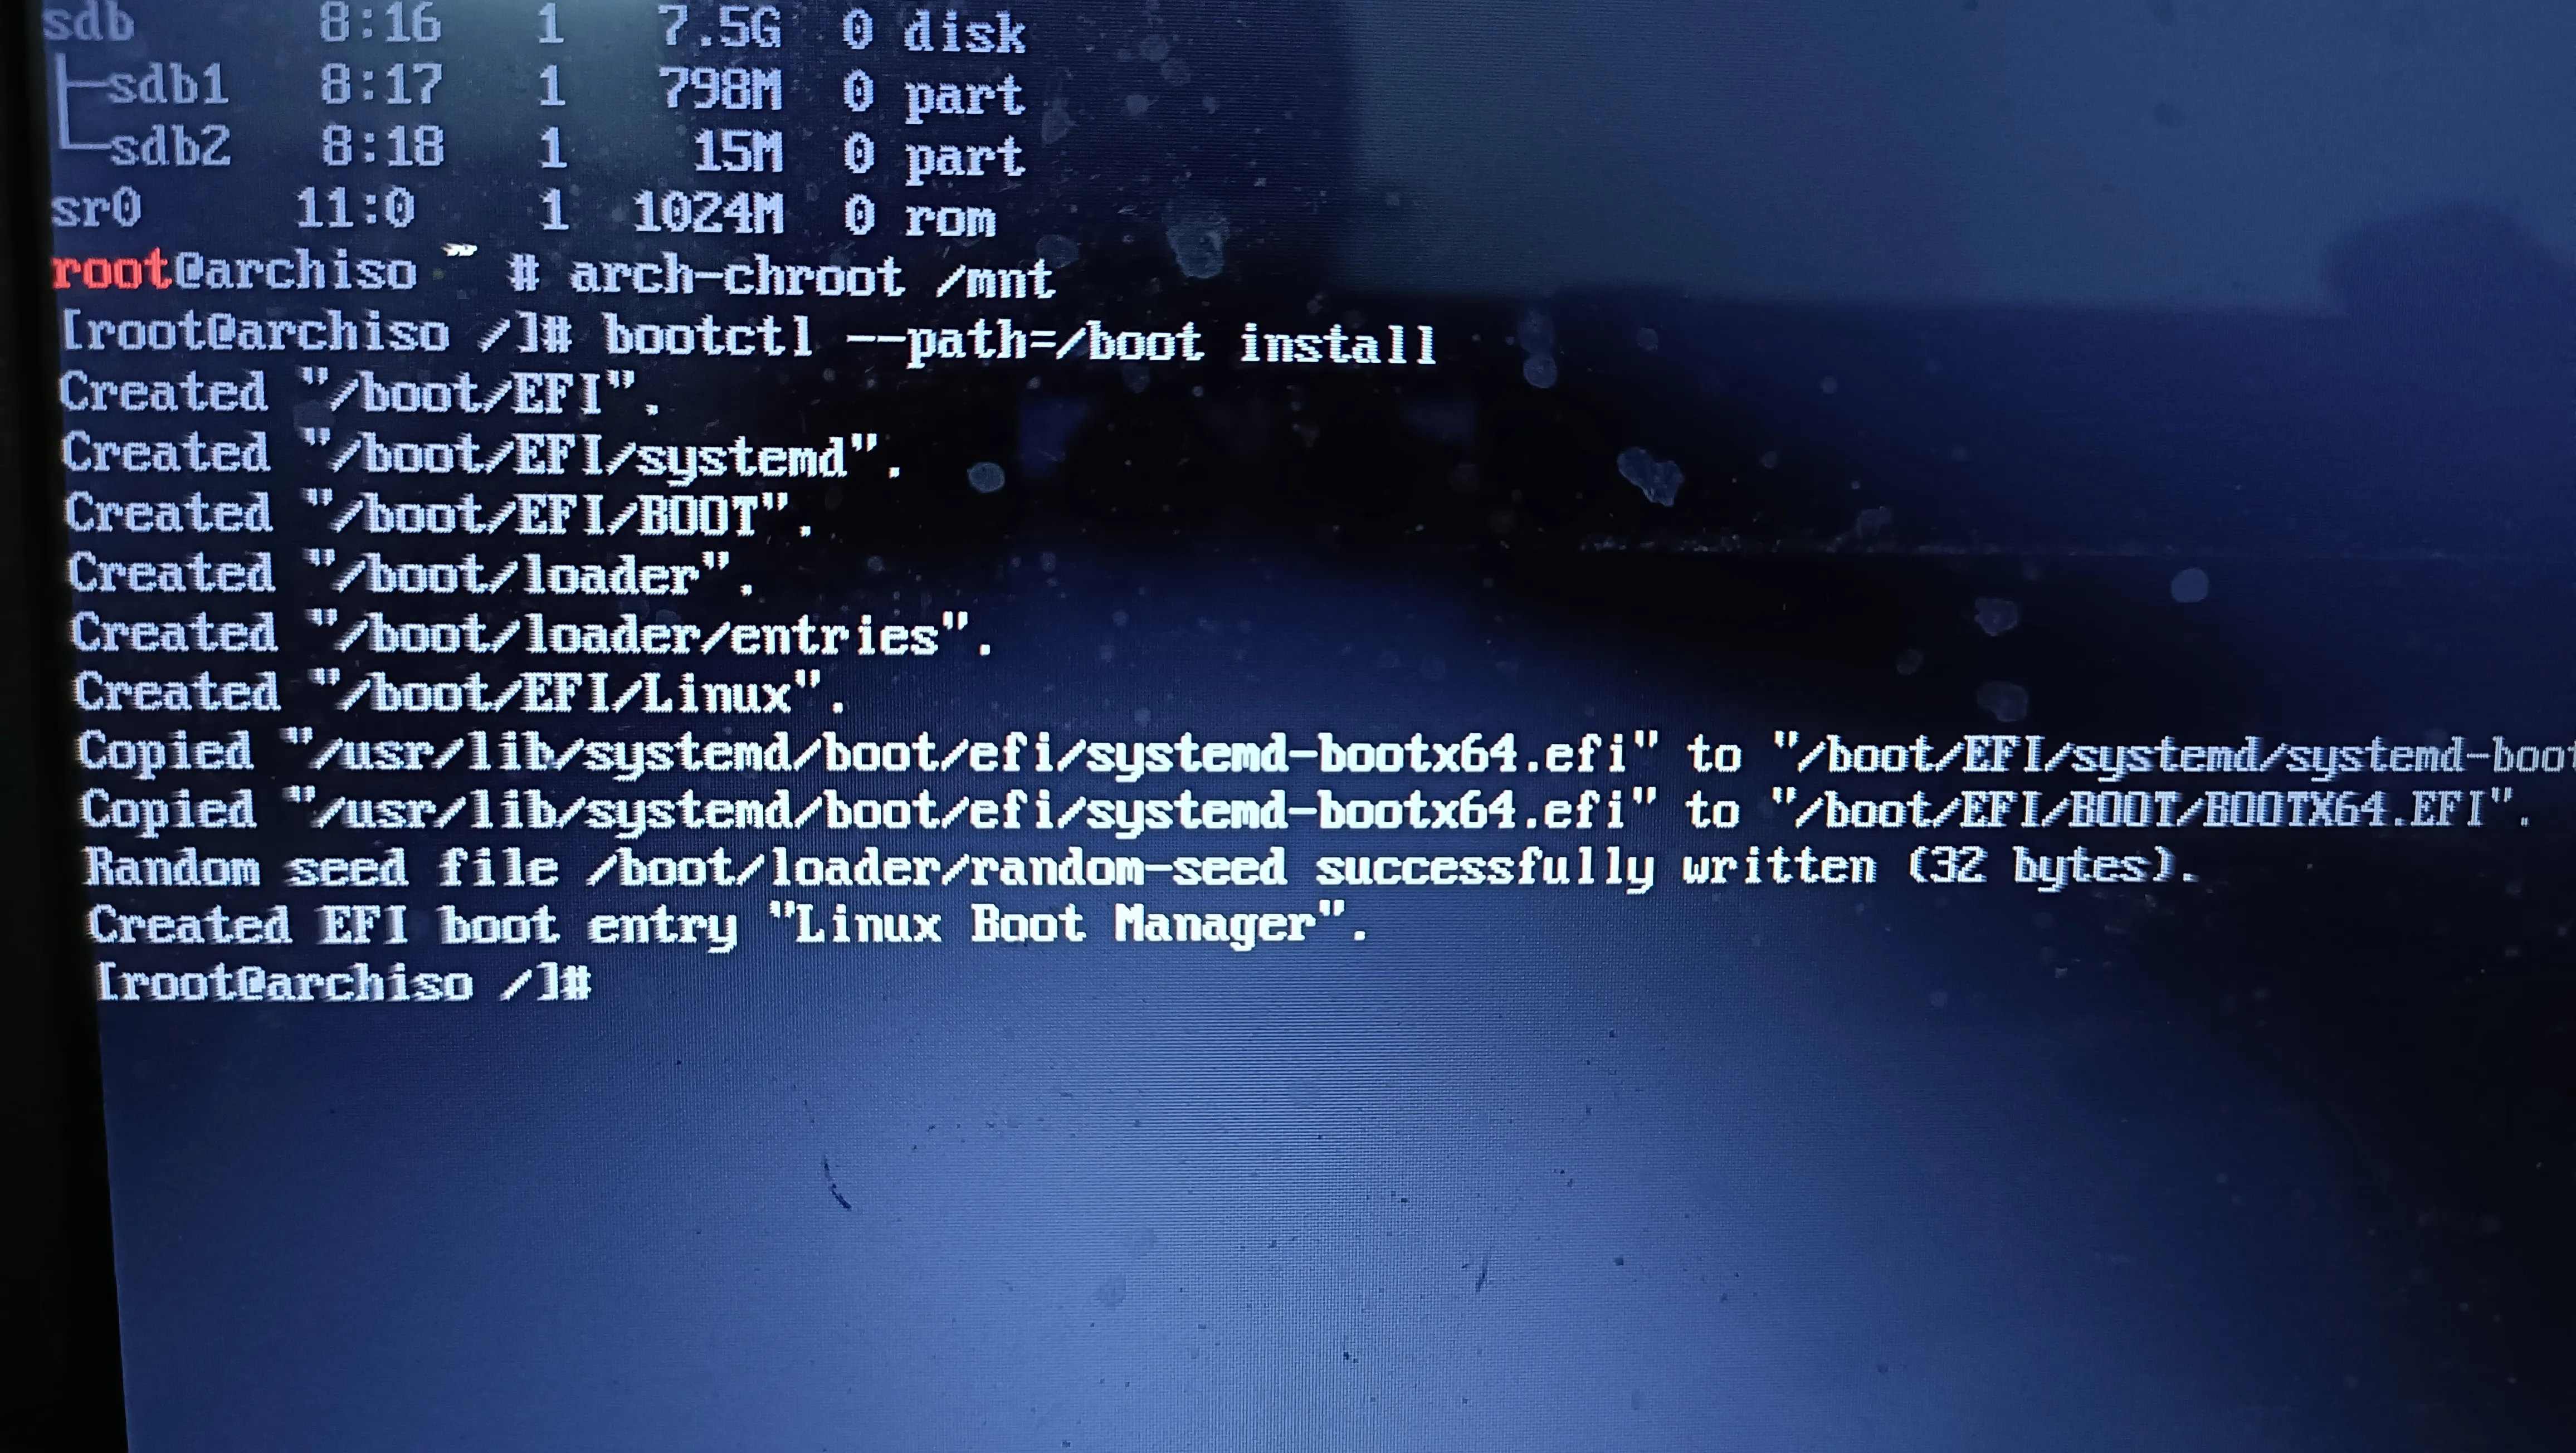
bootctl --path=/boot installFinally, add these lines to /boot/loader/loader.conf:
Edit using
sudo nano /boot/loader/loader.conftimeout 3
default arch-*and to /boot/loader/entries/arch.conf:
sudo nano /boot/loader/entries/arch.conftitle Arch Linux
linux /vmlinuz-linux
initrd /initramfs-linux.img
options root=/dev/sda2 rwReplace sda2 with the root partition device installed to.
Ensure that the networking service autostarts, using systemctl:
sudo systemctl enable NetworkManagerBasic installation is over!!
You can now unmount the installation media and shut down the computer:
umount -l /mnt
shutdown now
You can use Arch Linux from the next time you boot up the computer!!
PS: If you haven’t figured it out until now, I use Arch, BTW!